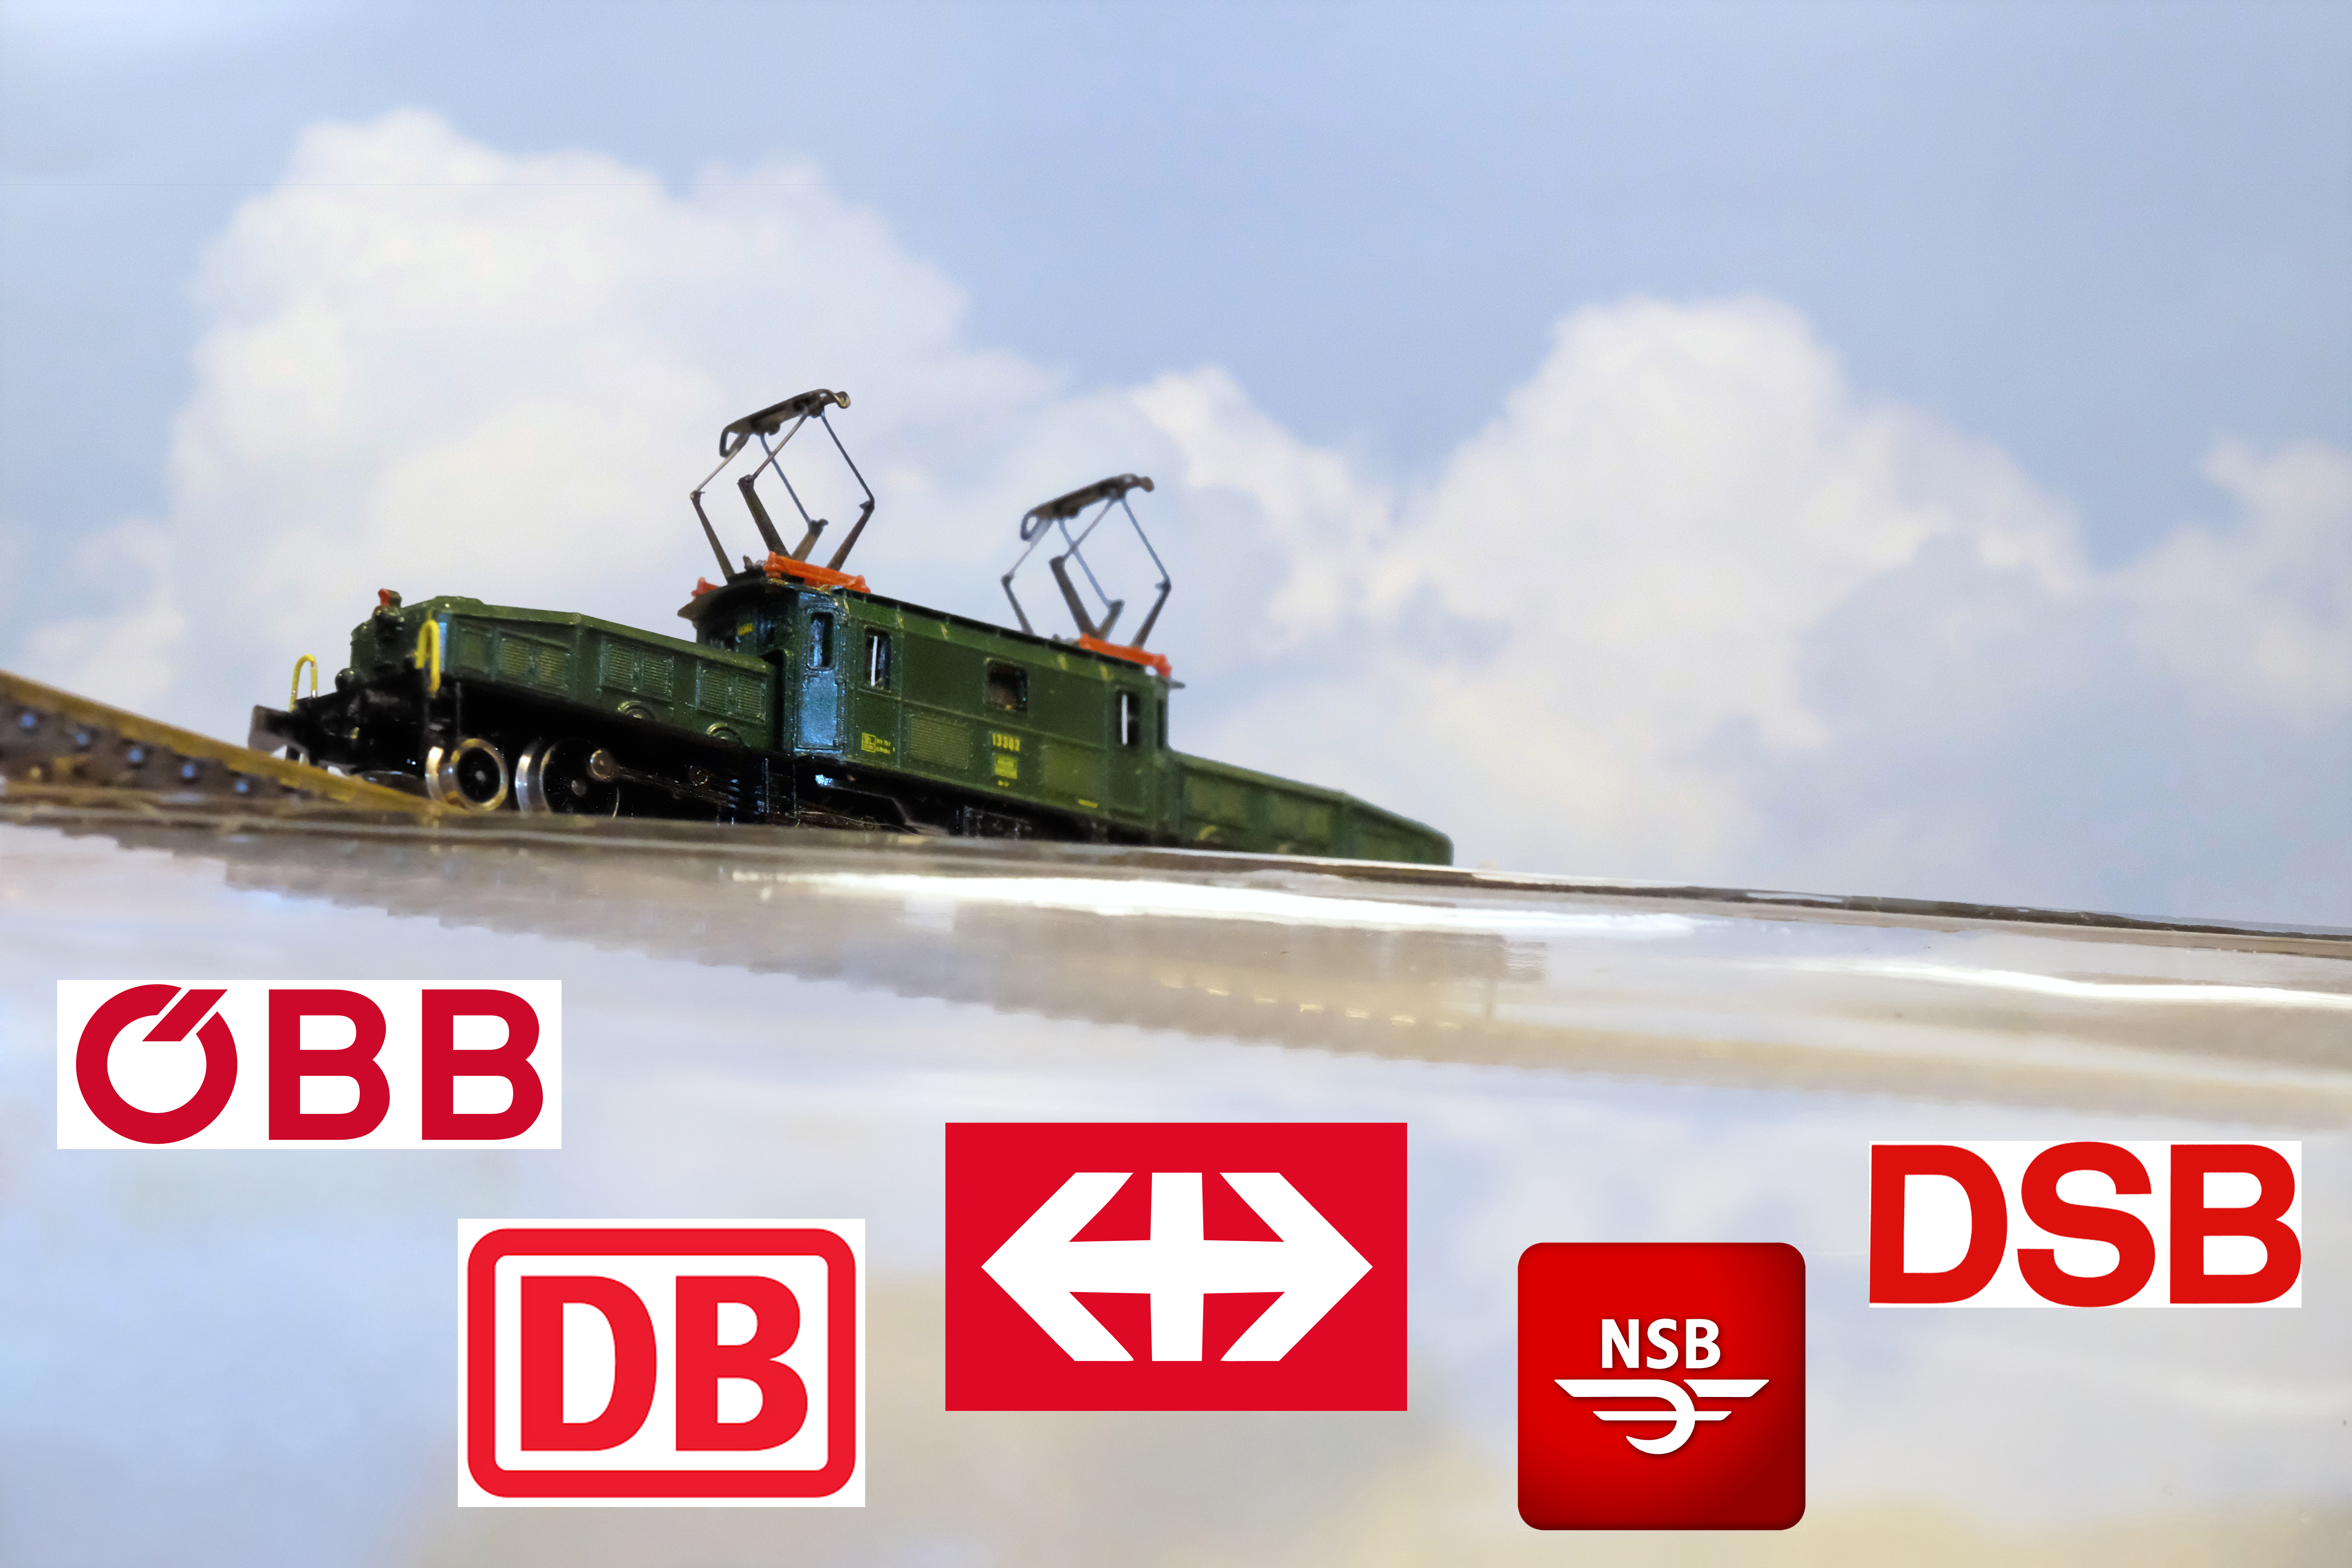
Marklin Magazin has been published by Marklin for a number of years, it is a glossy well produced magazine with contents covering Marklin trains and train history. And it is included with your ‘Insider’ membership! So what’s with the title of this post Prussian Blue? Prussian Blue is the traditional blue used in blueprints and since 2001 the characteristic color used for Marklin Magazin’s special edition cars. Marklin Magazin’s “Car of the Year” is often Marklin’s car with new tooling for that year, pigmented in Prussian Blue and lettered for Marklin Magazin. Sometimes a theme is introduced such as the 2002 release 80812: type Lgjs 598 flat car loaded with tanks corresponding to printer’s ink used in the production of the magazine. Or the 2006 release 80816: type low side car with brakeman’s platform loaded with real rolls of paper, Marklin notes 20 metric tons of paper are used for each issue of Marklin Magazin. New releases of Magazin special edition cars are available from your dealer through Walthers, but they sell out quickly.
Author Archives: garygraves
Faller 222114 turntable for goods depot

Utilizing a small motor the new Faller 222114 is a working turntable for a freight depot. Packaged as a multi scale turntable modifications are made for z scale following Faller’s instructions. This item is currently available from Micro Macro Mundo for $42.03, I just ordered mine.
Faller 2016 Releases: 282780 + 282781


Available later this year (2016) are two laser cut kits by Faller featuring half timber and stucco townhouses with further variations in roof sheathing. Kits 282780 and 282781 build on the continuation of new laser cut kits offered by Faller and other manufacturers. The realism achieved by laser cut kits is completed by correctly pigmented cardstock and architectural correct designs. Matte surface features are more closely related to original architecture than has been previously available for modelers.
Faller July 2016 Release: 282704

Several very interesting new releases have been announced by Faller for 2016 including the Bahnhof Hulinghausen train station. Borrowing from the manufacturer’s website is their description: A monument! Laser-cut model of the station building in Herscheid-Hüinghausen put into operation in 1915, with a characteristic hipped roof à la Mansard and an adjoining half-timbered goods shed. The station area forms today the operating central point of the museum line Sauerland Local Railway. The proposed release is July 2016.
*Available as a pre-order from http://www.ajckids.com/products/Faller/282704 .
Faller Osterode-Sud 282705 laser cut station kit

A perfect train station for a briefcase layout is without doubt the Faller Osterode-Sud station, it measures just 2 3/8 x 1 5/8 inches which makes it ideally suited for a rural diorama for the smallest layout.

For several years Faller has released laser cut kits for z on a limited basis including a lumber mill, farmhouse and town hall. The laser cut kits tend to be priced higher than the plastic Faller kits, they include many more parts and probably a higher investment in design time. The architectural design of this kit is half timber and stucco with terracotta roof tiles typically found in Germany.

Kit features numerous parts including individual stucco sections, each is cut out from a larger sheet and individually glued in place thus giving a realistic impression of stucco infill. Note: tweezers and magnifying goggles are required due to the many small parts. Window glazing is included in the kit as well as interior lighting masking material which I did not use, it is required when lighting plastic kits due to translucence which is not a factor with laser cut kits, but you will gain window details such as curtains when using the masking material included with the kit. Faller 282705 is a challenging kit comprising numerous small parts in a small size. Some dry brushing could be used to add realism but not required. Signage is included as add-on details, I would recommend some improvement to graphic signs for future kits; the included signs are difficult to cut out with precision from the paper sheet, perhaps the station signs on heavy card stock would be better.
Testing Testing!!! Marklin Roller Stand 89932

I am not sure when someone came up with the idea for the 1st model train roller stand, but I am sure it was someone who I would have enjoyed meeting. A simple and complex precision instrument, it has quickly become an essential tool.


Several good roller stands for z are on the market, but I am only going to cover the Marklin 89932 which I use, and I would heartily recommend. Not everyone will need a roller stand, it is primarily intended for testing and repair of locomotives, but Marklin mentions in their literature usage for display; it is good looking so I cannot refute this suggestion. Marklin released two roller stands this one and a smaller 4 pair roller #89931 each is delivered in a foam lined cardboard carton with instruction and standard Marklin plugs with two Marklin logos mounted on either side of track section.

An accessory pair of rollers (#89933) can be purchased separately and added to either roller stand. Power is provided by two power terminals at one end, standard Marklin plugs are used as well as the Marklin mini club transformer.

Stainless steel rollers are in pairs, train wheels each sit atop a pair of rollers.

Two pair of rollers per section are adjusted by loosening and sliding. Note: electrical shorts and shocks are eliminated due to the installation of heavy acrylic under each section. The track section is intended for tenders.
Instructions for adding accessory roller pair #89933 is rather simple but care should be taken to put it back together in a specific way as will be outlined:
- locate end opposite power end
- gently wiggle off white plastic cap
- slide white plastic sections out of channels on both sides

- clear acrylic block sections are installed with the channel sections
- fine holes are drilled through the top portion of acrylic block sections these go on top during reassembly, and metal electrified rods running length of channel fit these holes. Note: if the metal rods are not installed in the holes in the acrylic blocks the unit cannot be put together. *Do not force parts together risking damage, parts if they are correctly installed will go together easilly.
- reassemble

*Stay tuned for roller stand in action coupled with the new steam locos with newly designed side rods.
5 Pole Upgrade for the 8998 Turntable
The Marklin 8998 turntable was produced from 1984-2002 featuring 3 pole motor, plastic construction with metal railing details and remote control. The original 3 pole motor can be upgraded to a 5 pole motor part #211914. Repair requires soldering, removal of bridge and disassembly of motor housing. *Special attention should be paid to electrical contacts at each end of bridge as they are delicate and subject to bending, it will not operate correctly if they bend.
The option to upgrade motors is available, but care needs to be taken each step of the way.
Marklin 5 pole motor for swing bridge: 
Original 3 pole motor on left next to new 5 pole on right: *Notice capacitor on 3 pole motor is bent forward (usually capacitors are bent in opposite direction in locos).

Step 1: turntable face down *notice plastic cap in center, this is removed to expose center bolt.

Step 2: with center bolt exposed use flat screwdriver to push off spring click that holds bolt together, set aside along with thin brass washer. 
Step 3: with a gentle grip of the bridge (careful not to bend or break anything on bridge) push center bolt out and set aside
Step 4: remove bridge from turntable assembly and place face down, notice motor housing identified by small screws holding the compartment together

Step 5: remove 4 screws and set aside compartment door 
Step 6: take note of motor and gearing 
Step 7: great care should be taken to prevent bending of electric contacts on each end of bridge
Step 8: with soldering iron remove leads to motor
Step 9: remove 3 pole motor, gearing, clean and replace then add a drop Labelle 108 oil to gears and track rollers 
Step 10: test motor and break-in brushes with forward and reverse throttle, install new motor, bend capacitor wires as illustrated and solder leads to capacitor

Step 11: capacitor must fit tightly under plastic housing before screwing back together otherwise it might not clear the base of the turntable preventing level smooth turning
Step 12: carefully re-position bridge locating the pointed plastic end of bridge in place before positioning other end. Care should be taken to avoid bending electrical contacts at each end of bridge. 
Step 13: replace center bolt, install thin brass washer and spring clip followed by plastic cap.
Buy Used from a dealer you trust!
Buying from dealers you trust will pay in the long-run. Used Marklin z trains on Ebay have reached a staggering volume. Just 10 years ago listings for Marklin Z were far below 1000, now that number is over 3000 including new and used from dealers and individuals. Only experience and instinct can determine if buying used sight unseen is a good idea. Generally good feedback helps to sway a decision in favor of a good deal, but I would argue that used should only be bought from sellers with obvious knowledge of what they are selling. And it sure helps if you buy used that you can also perform repairs. Most sellers offer return and Ebay even makes it easy to return with their guarantee. In the past few years I have received items that are listed ‘new’ from dealers that have had cosmetic defects not associated with manufacturing, but both times they were returned for a full refund. If you read a description that includes “no way to test” or “I have no knowledge of trains” make sure the listing offers returns. You should automatically assume the worse case scenario if the train is used, at some point it may have been dropped, run at high voltage above 9 volts, or taken apart by someone inexperienced.
Evaluating condition of used Marklin:
-evaluate the box for any damage including water or impacts
-with a magnifying glass give the loco a good looking over: anything missing such as buffers or broken wires with electric locos, windows intact, and any scratches or cracks. *Inexperienced repairs to rail buses often include cracks around buffers due to lack of knowledge pulling off the shell.
-does the shell seat properly on chassis /frame. *A warped shell is likely due to overheating by running loco above 9 volts or running for extended periods at high throttle, the miniclub bulb before LED’s heated up and could be quite hot at 9 volts leading to a build up of heat that could warp the shell.
-give the smell test, if loco smells burnt it may have been run full throttle for extended periods or without proper lubrication indicating a well used loco, shell should be pulled and interior inspected
-if there is oil on the shell the loco may have been over-oiled and will require tear down and cleaning.
-before test run clean the track: test run may be misleading if the loco has been stored for a long time, it may have been displayed only which is more common that one would think. If the loco is older and does not run smoothly or lights work only the culprit maybe HOS (hardened oil syndrome) which requires a full cleaning of all gears. If the loco was a display piece only the brushes were never properly broken in, after HOS is ruled out test the motor after it is removed from chassis.
-don’t let your emotions get the better of you, if the loco is rare but in questionable condition don’t keep it because it is rare believe me you will have other chances to get the same loco in better condition
-if the cosmetics and mechanical are 100% you have found a good loco Note: you might want to buy only locos graded at 90-100% for resale considerations
Recommended dealer for used Z scale:
http://ztrackresale.com
Dime a Dozen
We all have heard the phrase “dime a dozen”, it certainly does not apply to ‘Industry Prints’ those rare and elusive freight wagons mostly produced in the 1980’s – privately printed cars with advertising ranging from beer to car phones. Marklin was producing their own special imprints at a time when an enterprising few decided to get into the action. Making your own mark in ‘Z’ scale has certainly been tried many times through its history, but sadly special imprints referred to by collectors as ‘Industry Prints’ were produced for only about 10 years. Should the collector care about these rare items: yes yes and yes. If you collect Marklin’s special imprints you know the crisp pad printing achieved in the graphics, Industry Prints vary with generally thicker paint of a more opaque saturation. Collectors of special imprints know the 1986 release of the beer cars Pabst, Blatz, Chihuahua, Bass, Miller (numerous variations), Labatts, Coors Lite and Michelob, all were produced privately for exclusive distribution in Germany and the United States. The excitement for these models maybe the saturated colors or it maybe the history documented by the graphics who knows they are that and everything else.
Marklin 5 pole motor chart
There is a fine blog on the internet that came way before me, it got me started on the path of troubleshooting and repairing z. This is a short entry because I just want to introduce another blog that has very useful and important information:
http://www.zscale.org