Readers of ztrainsweekly know of my interest in FR’s (Harald Freudenreich) Z gauge model trains thru many posts since its start. Lately the brand known as FR Freudenreich Feinwerktechnik is today Atelier Barkvieren. Over the course of its beginnings in the early 90’s FR’s contribution to the hobby includes just over 800 items, its history and reputation rooted in highly precise prototypical accuracy and flawless design + manufacturing. I thought it would be interesting to look back at a model train set produced in 1994 by Harald Freudenreich, and the fourth item ever to be produced in Z by FR.

Known as article number ZF004, it was preceded by 3 other train sets all from 1994 (numbered respectively ZF001-003). Today the discussion is about ZF004 train set painted and lettered for Lehigh Valley Railroad (1846-1976).

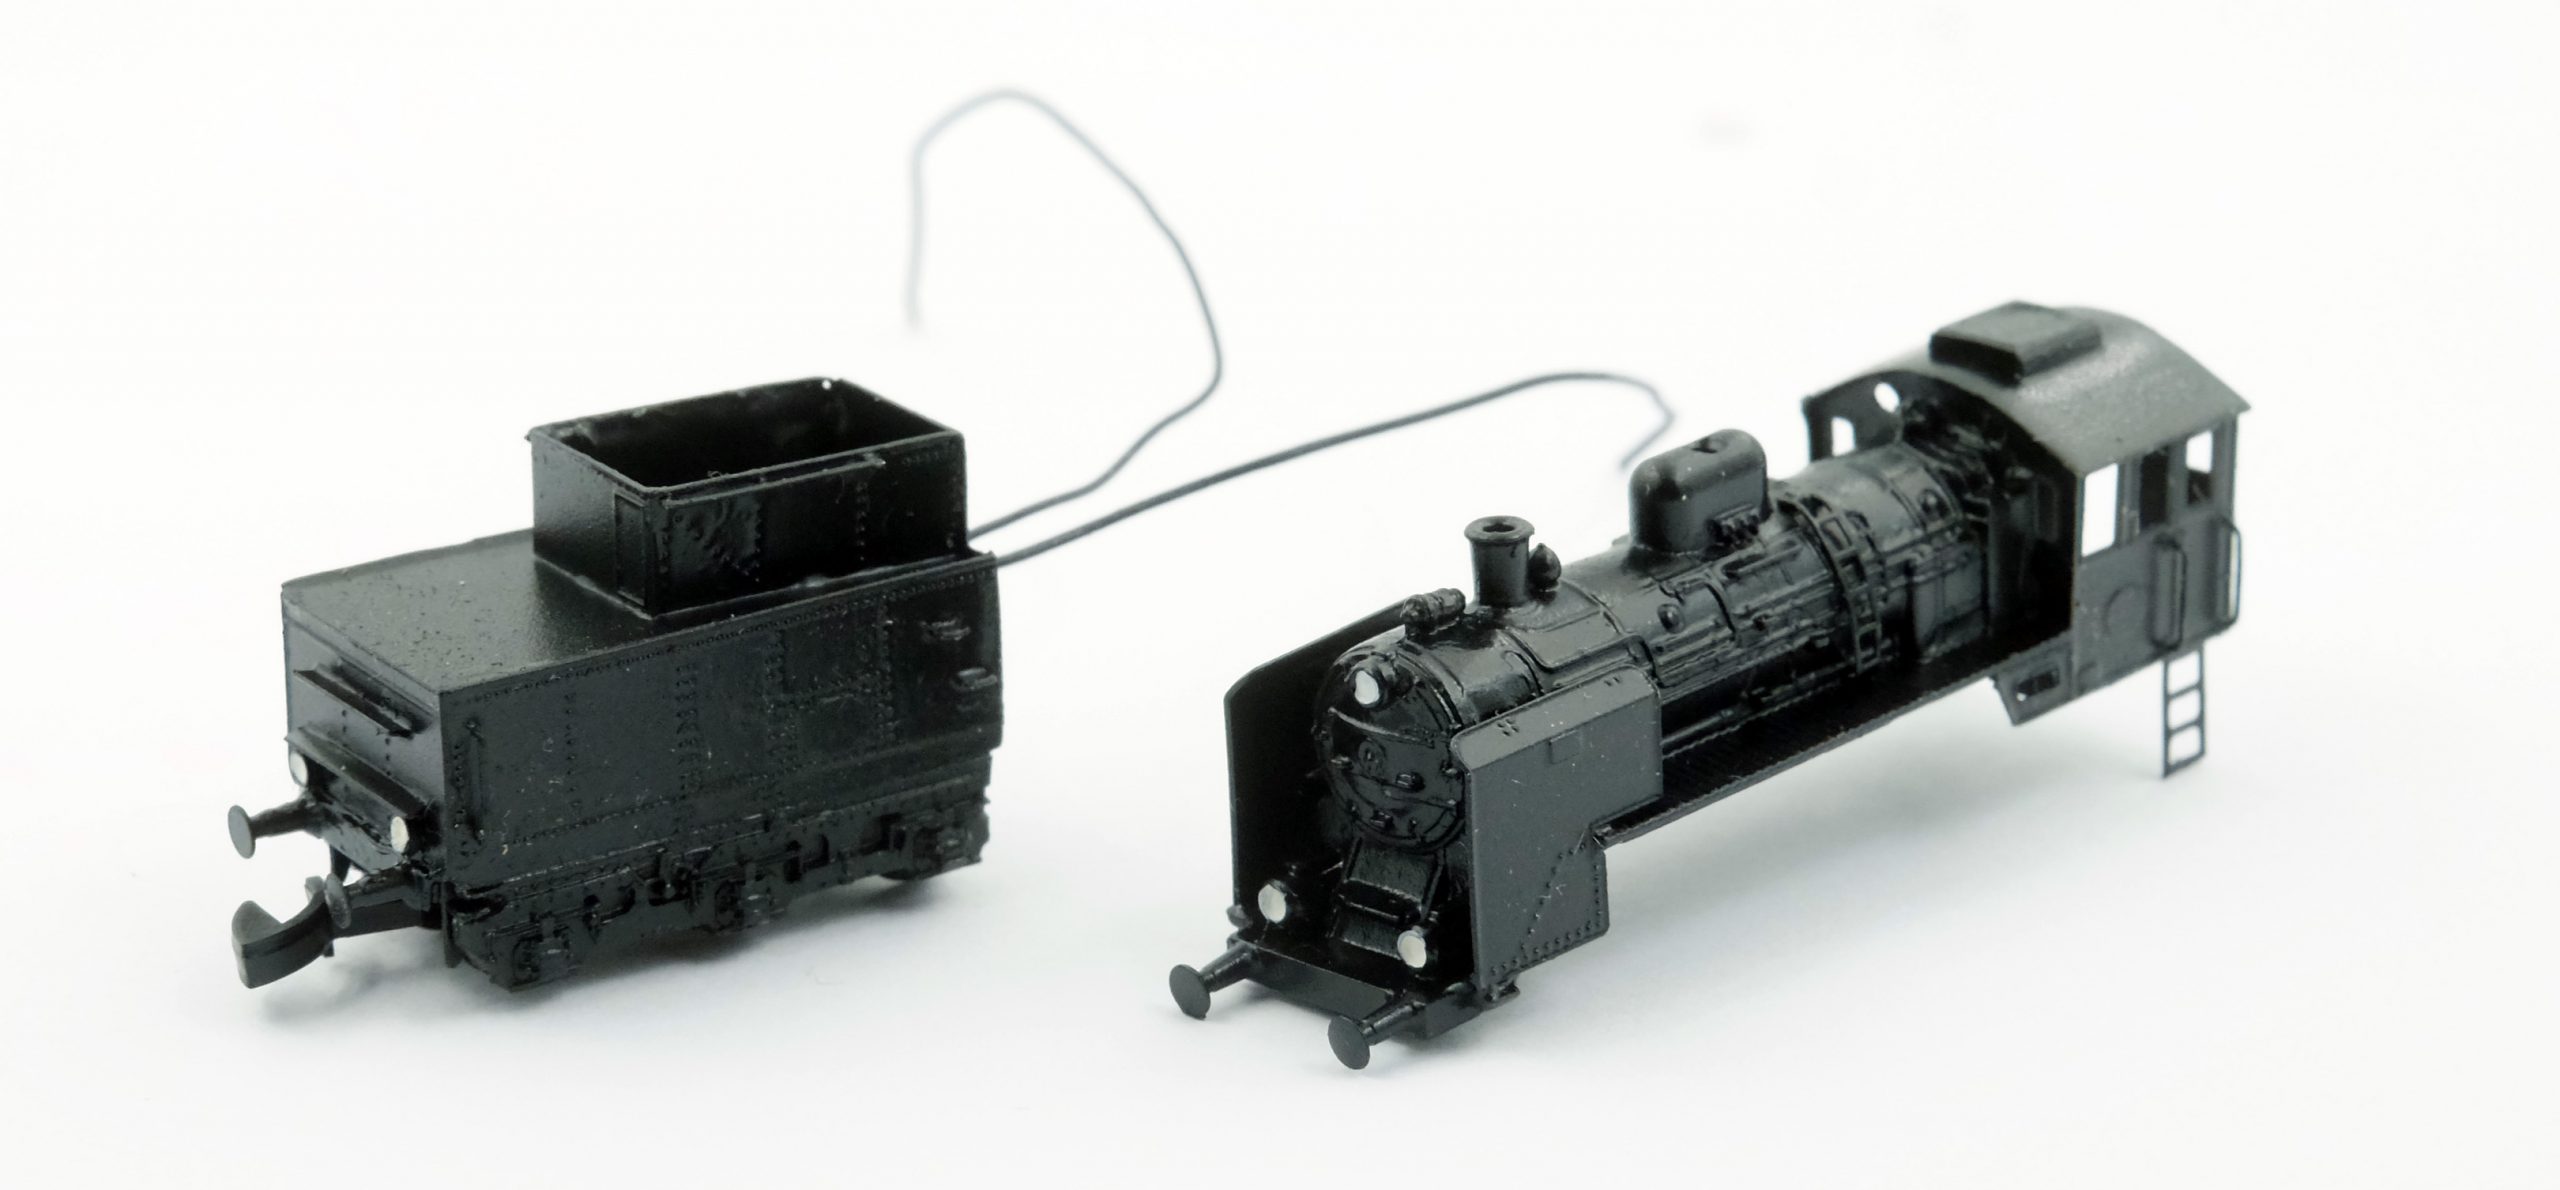
Train set ZF004 (1994) limited to 50 sets included a AGEIR boxcab diesel locomotive and 3- 31′ fishbelly hoppers painted and lettered ‘LEHIGH.’ Locomotive is constructed of metal with maintenance free motor similar to ones used by Marklin today. Locomotive is heavy as it appears to be entirely made of metal including truck frames and brass securing screws. Add-on parts include roof details: brass bell and smokestack. A curious characteristic about the loco are the non-rotating wheel sets, but loco’s short wheelbase allow it to negotiate curves perfectly, plus each truck includes pair of freely turning wheels without flanges thus locomotive includes 2 sets of driving wheels and 2 sets of un-powered wheel sets. FR’s distinctive coupler design was already used on their first locomotives as they are unchanged to this day. Couplers comprise simple bent wire hooks which couple easily with Marklin mini-club couplers, they also do not detract from the locomotives prototypical appearance.


Hoppers are constructed of mostly metal with fine detailing, each features prototypical couplers except for lead hopper numbered 25617, it includes a Marklin coupler at one end to pair with simple wire hook style coupler on locomotive. Hoppers appear to have 2 add-on parts: handbrake and platform by handbrake. On the underside: truss supports and coal funnels appear to be cast plastic cemented in place. Wheels are black plastic with each wheel set attached to car with brass screws. Each hopper features sharp lettering with smallest lettering perfectly legible with magnifying glass. Hoppers numbered: 25617, 25322, and 25039.


Train set was delivered in wood display box as was 4 other train sets in 1994. Display box is lined in silk and features metal ‘FR’ logo. Wood display boxes were used over the years by FR each lined with silk. This set as I bought it does not have additional items such as descriptive booklet, I am doubtful one was included. The presentation elevates this train set to the ‘expensive’ item category which in 1994 carried a price tag of 875 Deutsche Marks.

Siding: What’s in a name? ALCO Boxcab diesel locomotive was a diesel/electric switching locomotive referred to as AGEIR Boxcab’s so named after an amalgamation of the 3 builders of this locomotive class: ALCO (American Locomotive Company), General Electric and Ingersoll Rand.