Wow!


I have been waiting patiently and other times impatiently for Marklin 88145, there were times I didn’t even think I would receive one, but last week I took delivery of one from the dealer Frank Daniels (zscalehobo.com). I can only wonder if the release was smaller than Marklin planned with some pre-orders not filled including a second one I ordered as soon as it was announced many moons ago. Note: pre-orders maybe filled, I haven’t received word as of yet that more are not on the way.


88145 is a further milestone in Marklin Z with prototypical accuracy, excellent running performance due to a brushless motor, and extremely fine detail work including many add-on parts. Add-on parts are always part of the finish detail work on Z locos, but the 88145 includes added details only found with the small firms of FR and Modellbau Z whose quality handmade products are unmatched but equaled with Marklin 88145. The add-on parts include cabin chimneys on roof along with top cap for boiler, but also grab-on rails fore and aft (nod to my recently deceased Father-In-Law who was a sailor) with platforms and accurate detailing on one end with buffer beam detailing including hoses, step-ups and coupling.


The paint scheme is crimson with lettering for DB thus an Era III locomotive but built in 1905 with firebox designed by Eugen Kittel. Two class Kittel CidT 8 steam powered rail cars were used on provincial railroads in Germany until their retirement in the early ’50s. A rather remarkable little rail car with but 4 passenger bays this locomotive would have hauled a freight car or two thus offering a dual purpose on less profitable routes.


As for the model — 88145 will prove to be a very big deal in Z modeling! And under the hood just as complex in design and fabrication as the outer shell! Parts diagram includes numerous mechanical and add-on parts thus confirming the necessary amount of assembly labor involved in this release.


The only point of comparison to be made with small high end manufacturers is add-on parts are made of injection molded plastic rather than etched nickel silver, but it is hardly a discrepancy worth noting as these parts are perfection! Running performance although not tested on all track by this reviewer could be assumed to be rather poor through turnouts or dead spots (due to lightweight and short wheelbase), but continuous rail there is no loss in power or performance witnessed.


All positive! The new Marklin 88145 is superb, but it maybe a once only production: the price tag on this release should have been comparable to other locos on the market with similar workings and detail work, instead it sold for at least half maybe 3 times less than comparable locos on the market: assembly labor alone must have been very high.

I would like to see Marklin continue with outrageous models such as this one, maybe a second line like the “Fine Art” series from a few years back that did not take hold.

A quick note on the carton: loco was delivered in the current white carton with loco housed in a two part plastic sleeve similar to ones used in the HO line to protect the delicate add-on parts, mine arrived with pristine paint and nothing broken. *Even the box was thoughtfully designed! Lastly: box has a “Made in China” sticker attached to it which makes perfect sense to me, Chinese labor is very good with fussy and intricate assembly of tiny parts and this model is exceptional in every way, it maybe the best Z loco in terms of detail work and craftsmanship.

Siding: I am a long time collector of Marklin Z, all periods in Marklin Z are represented in my collection. A few fears ago Marklin produced Z in China much to the consternation of fellow collectors, with very few exceptions “Made in China” did not resonate with me as poor quality or less collectible than “Made in Germany”, Z products continued to arrive during this time-frame that more than satisfied this collector. And I suffer from extreme pickiness! First time I have admitted to that in public. We may only have the Marklin 88145 because it was made in China which may turn out to be one of the most sought after models by Z-scalers in years to come.
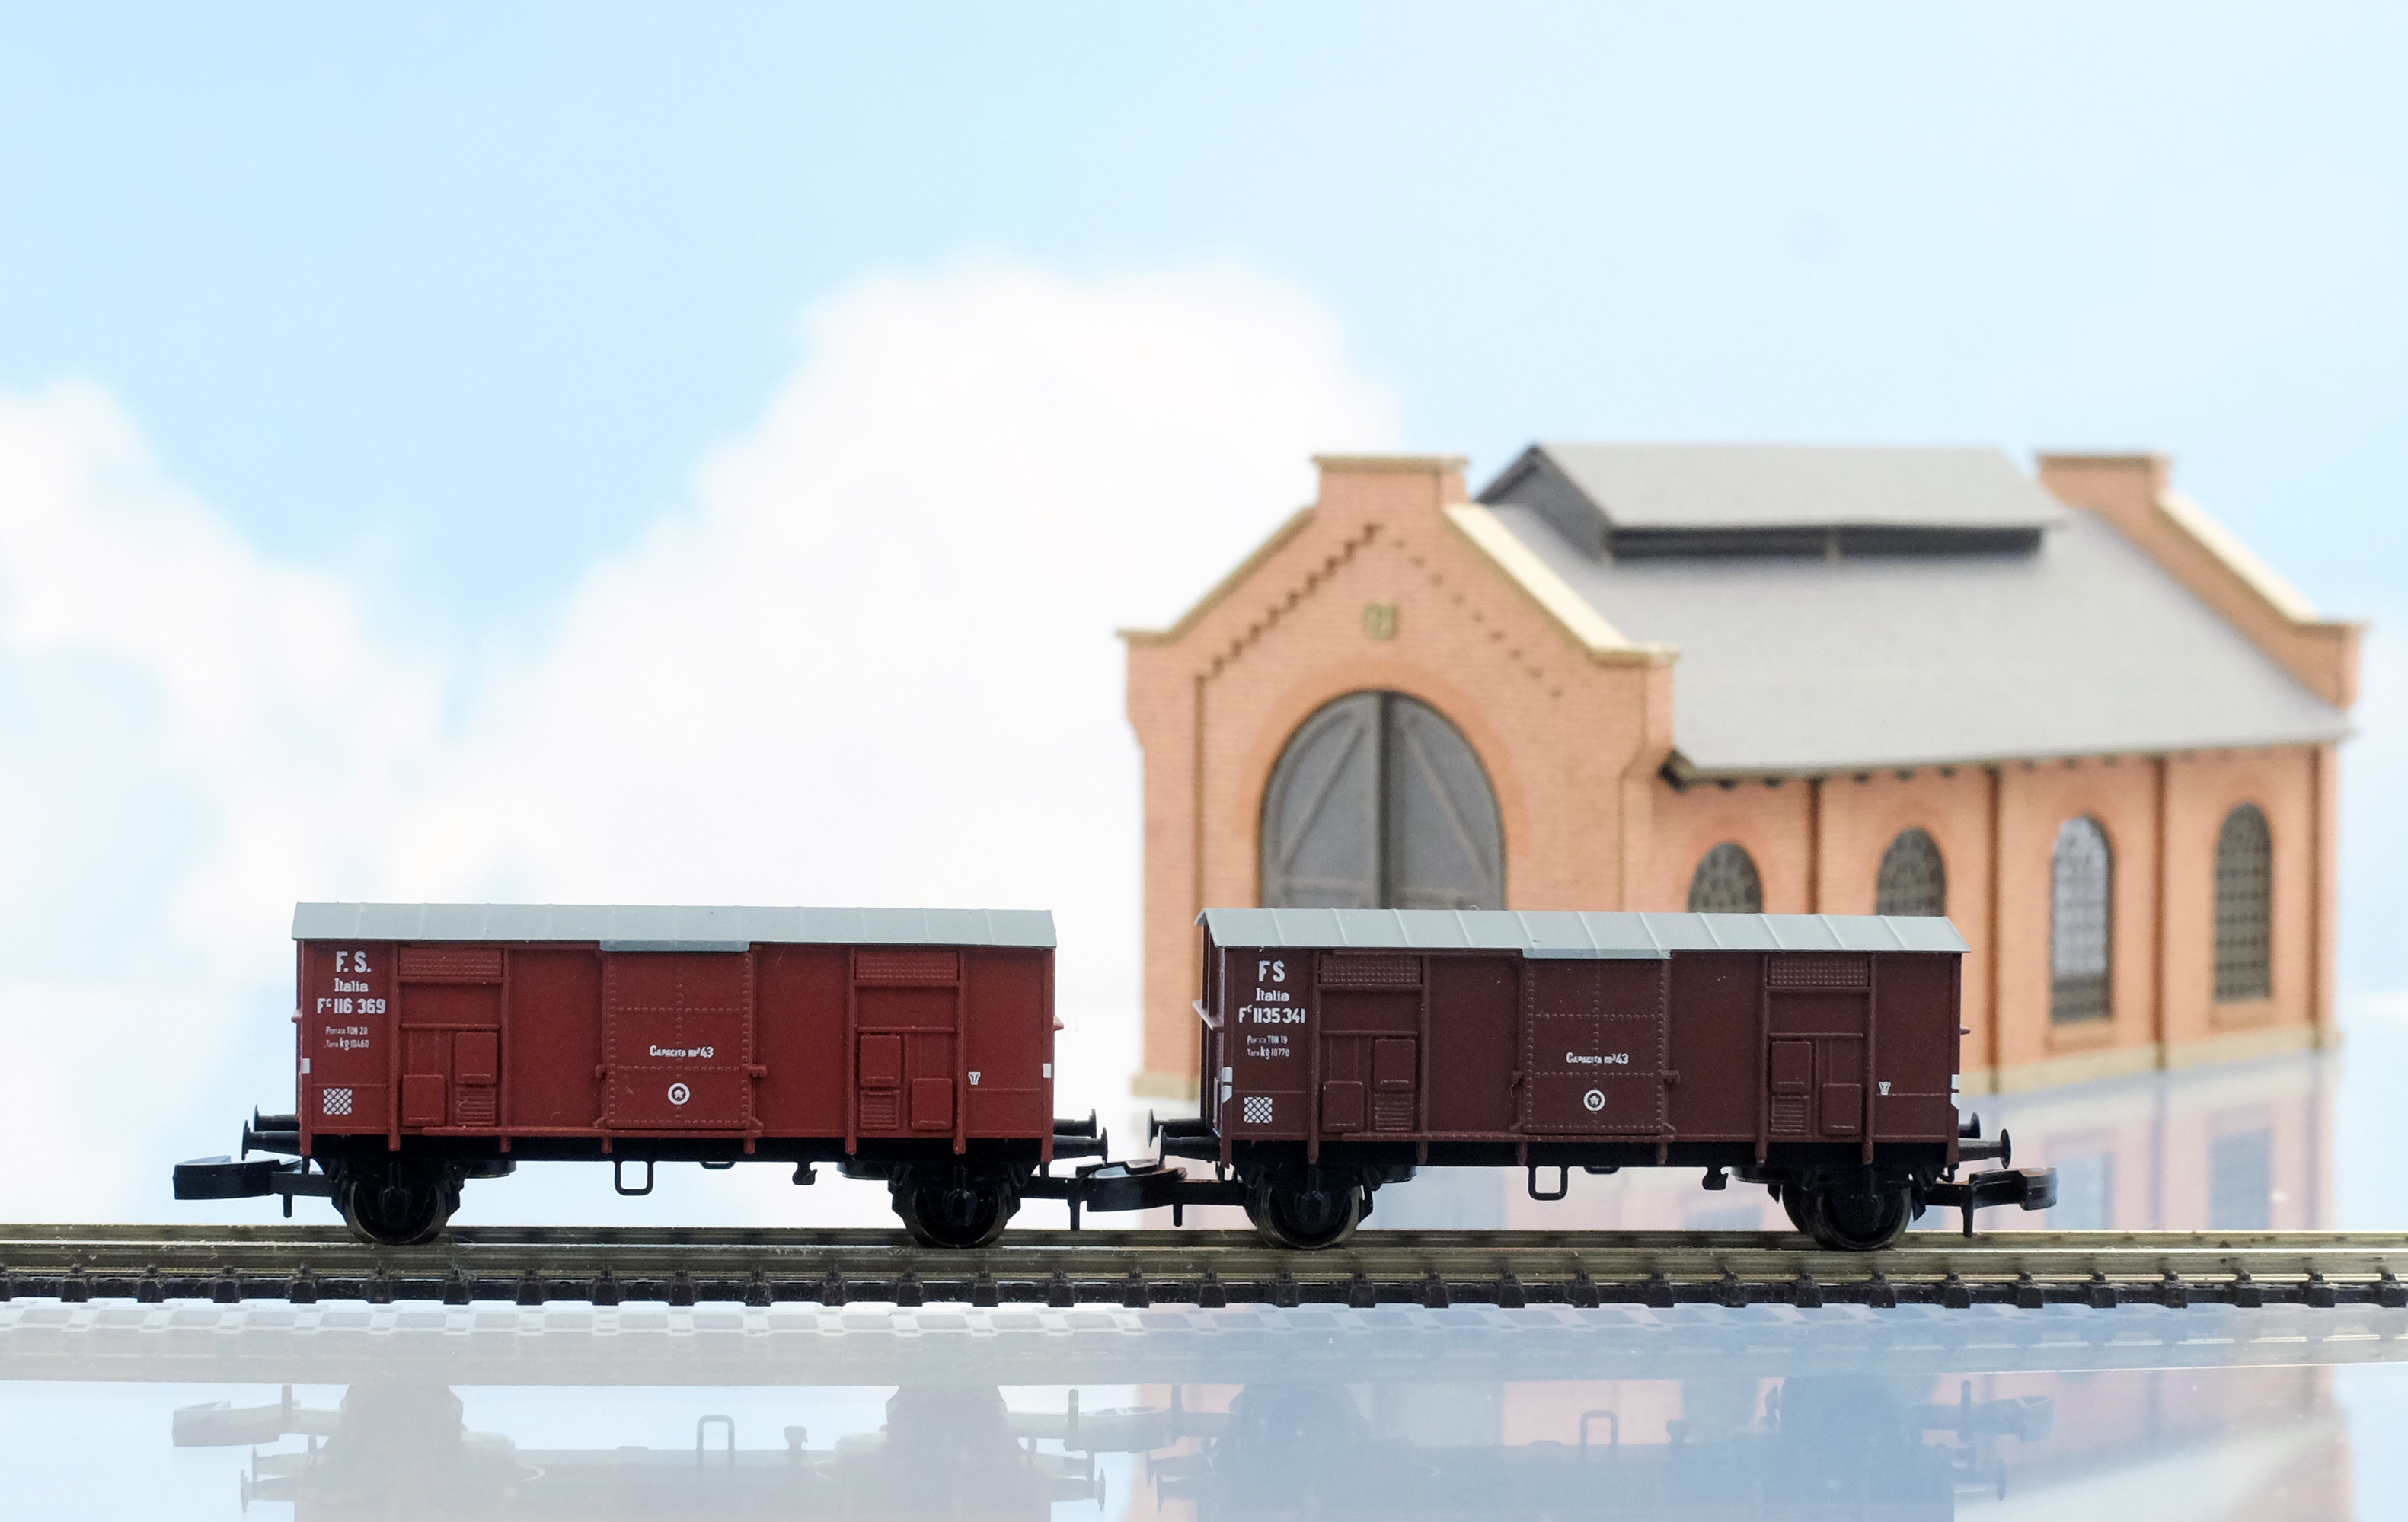
A perfect boxcar for the loco and timeframe is a G 10 from set 86391 or 86392 (not pictured).

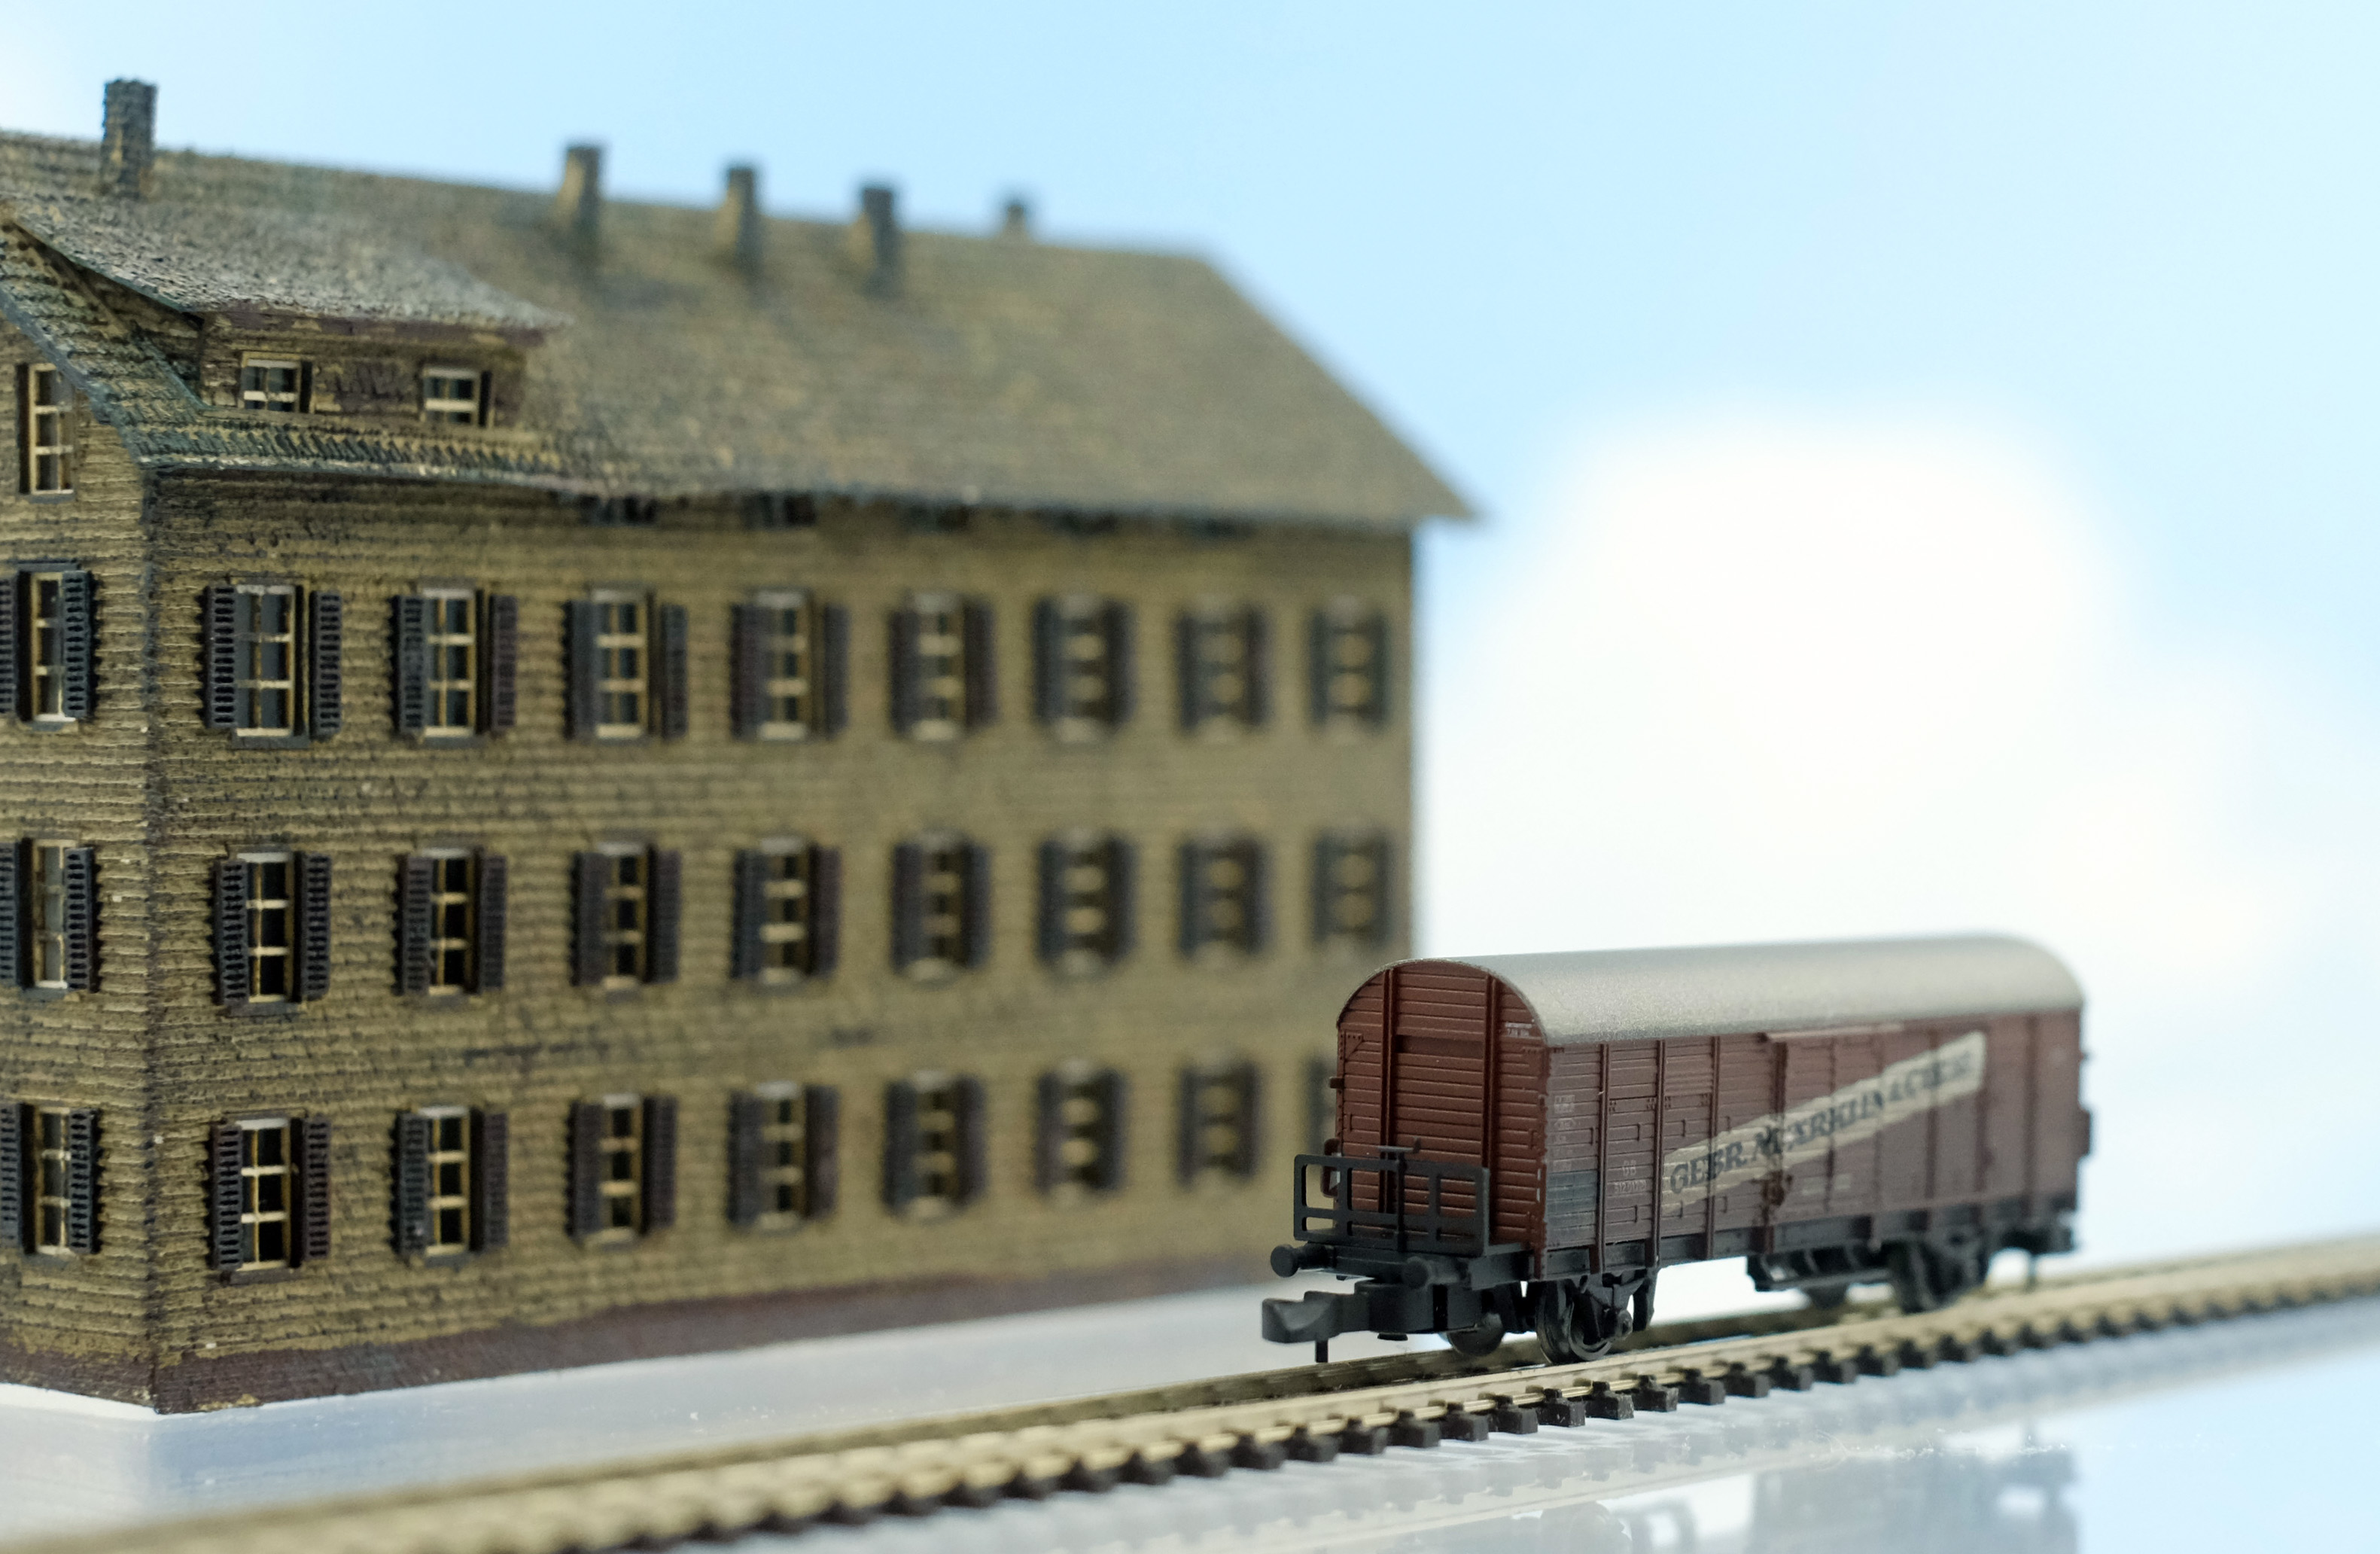
Siding: Faller’s 282781card-stock building is depicted in this post, it includes two kits glued together.