Applause applause!!!! FR would win the Z gauge “Best Model” of the year if such awards existed. The recent release and still available 46.132.21 is based on the prototype class Ra 994 “Rapid 10” lettered for SJ.


Just 10 Ra’s were built by ASEA between 1955-1961, they were used on express train service for 30 years. The subtle resemblance to America’s F7’s is not an accident for it was the inspiration for the Ra’s design.

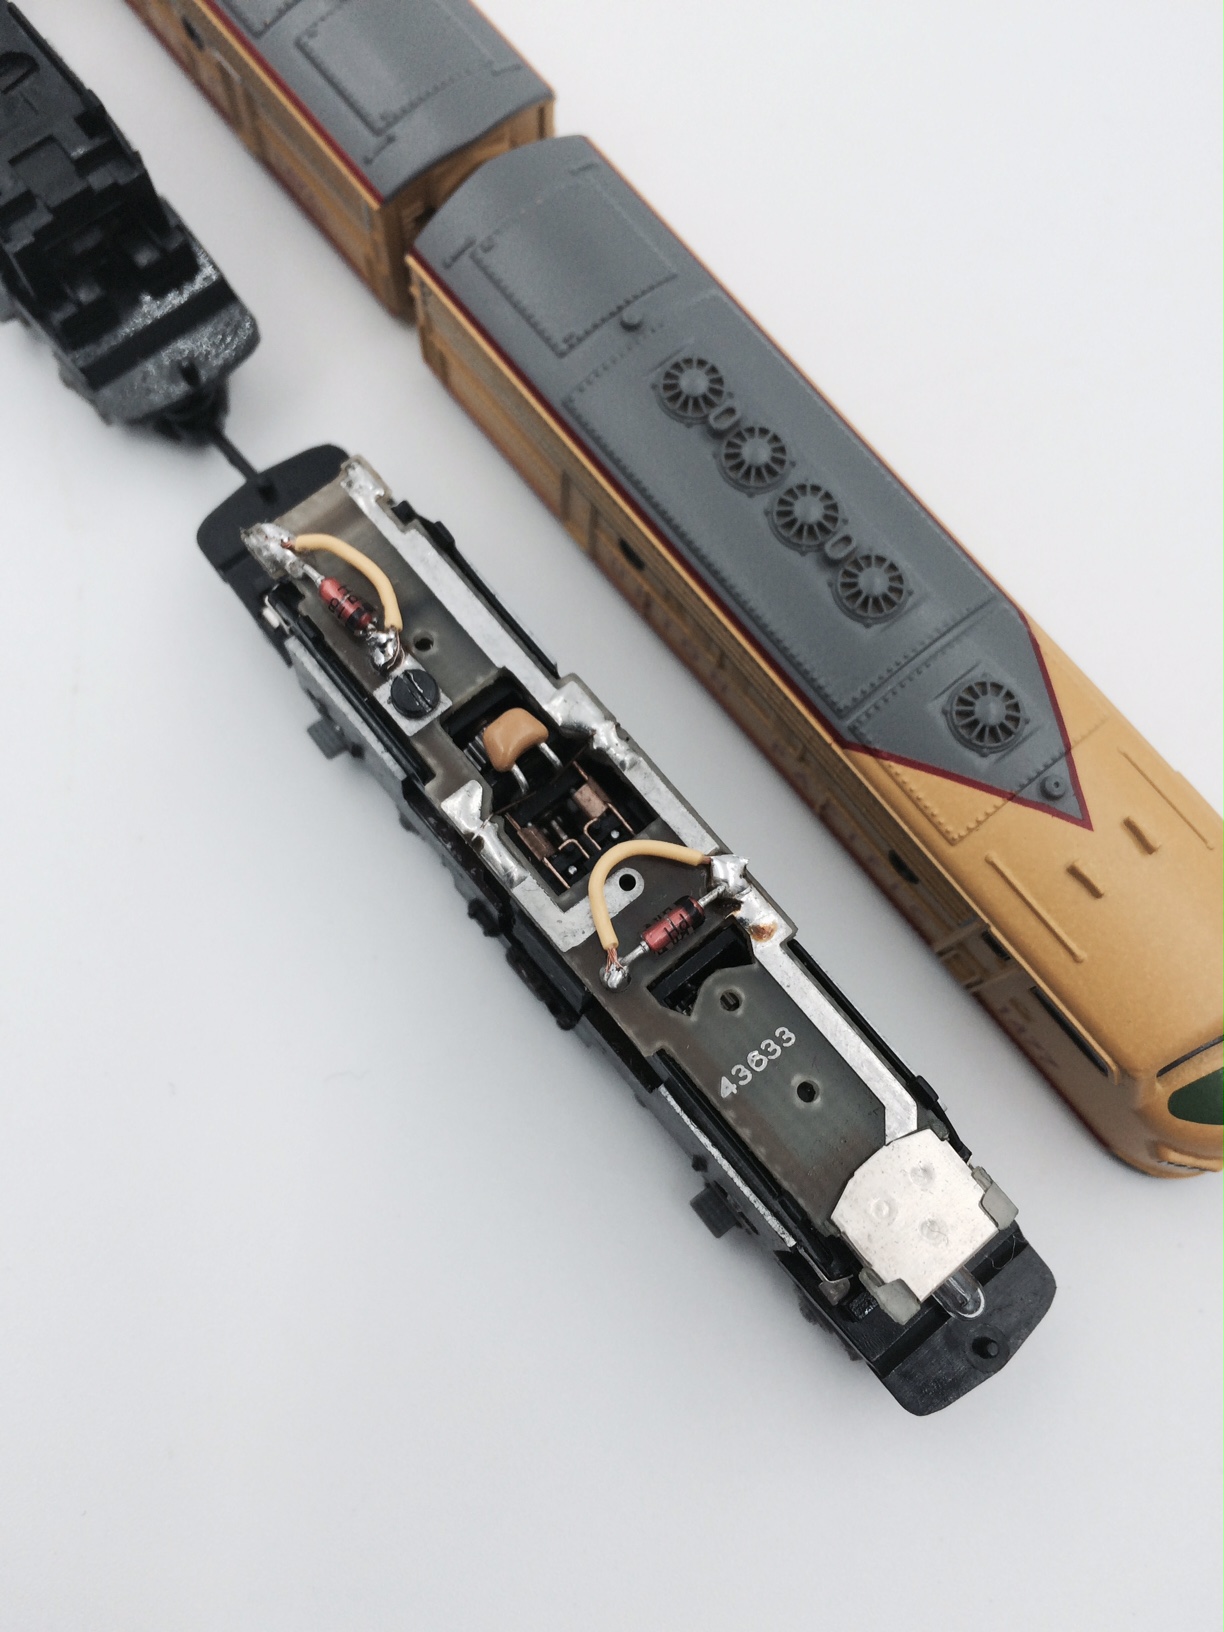
Typical of Scandinavian locomotives is the inclusion of snowplows modeled in metal by FR. The locomotive features brushless motors, it is recommended regular servicing at 50 hour intervals. FR advises their shop for servicing due to the engineering complexities of their locomotives, sounds like the precision workings of a fine German camera or car. On the tracks FR’s locos run smooth and quiet with bright LED lighting.


This is the 2nd Ra locomotive released by FR the 1st was the earlier Ra 846 (#46.132.01), its headlamps included 3 large aft and fore this one is based on a later prototype which included a headlamp modification. FR is aware of all the historical details and changes thus rest assured each model is well researched and accurate in Z.
FR 46.132.01 – limited release of 32 total

FR 46.132.21

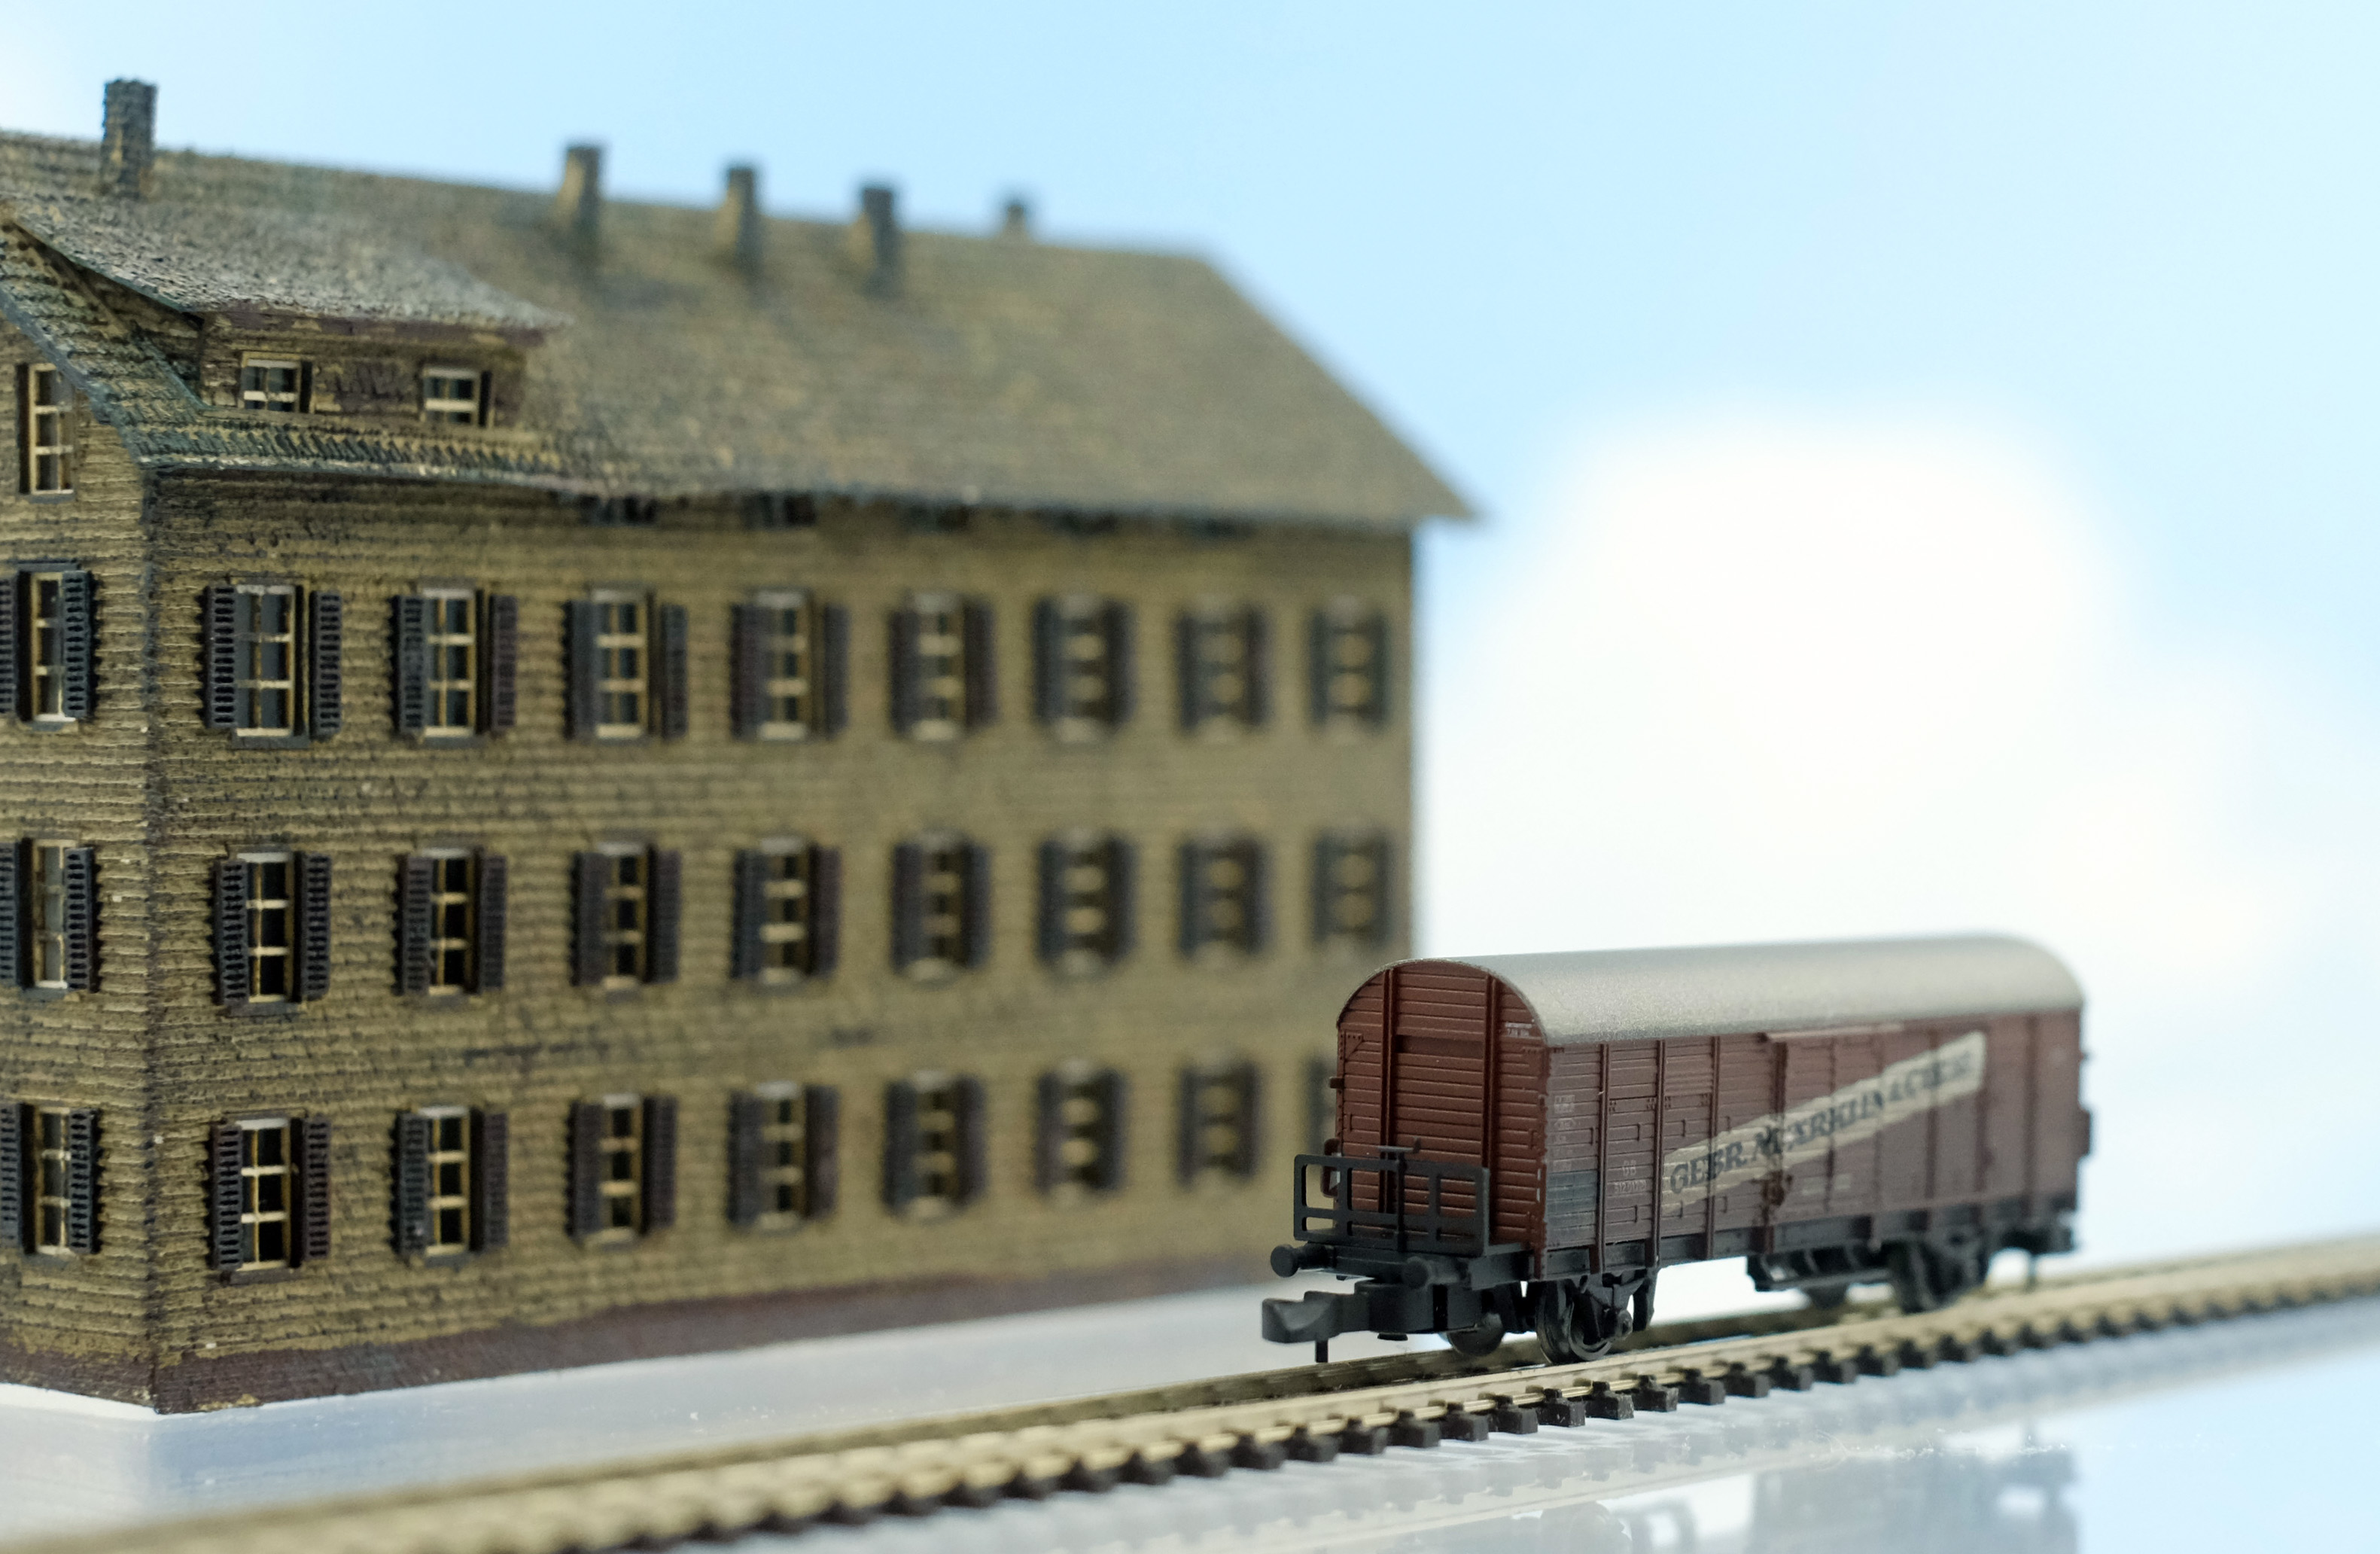
Siding: Faller’s “Corner Townhouse” item #282782 card-stock building is the backdrop in this post.