Category Archives: Era III

SJ Ra 994 “Rapid 10”: FR recent release!!!!!!!!!!

Applause applause!!!! FR would win the Z gauge “Best Model” of the year if such awards existed. The recent release and still available 46.132.21 is based on the prototype class Ra 994 “Rapid 10” lettered for SJ.

Just 10 Ra’s were built by ASEA between 1955-1961, they were used on express train service for 30 years. The subtle resemblance to America’s F7’s is not an accident for it was the inspiration for the Ra’s design.

Typical of Scandinavian locomotives is the inclusion of snowplows modeled in metal by FR. The locomotive features brushless motors, it is recommended regular servicing at 50 hour intervals. FR advises their shop for servicing due to the engineering complexities of their locomotives, sounds like the precision workings of a fine German camera or car. On the tracks FR’s locos run smooth and quiet with bright LED lighting.

This is the 2nd Ra locomotive released by FR the 1st was the earlier Ra 846 (#46.132.01), its headlamps included 3 large aft and fore this one is based on a later prototype which included a headlamp modification. FR is aware of all the historical details and changes thus rest assured each model is well researched and accurate in Z.

FR 46.132.01 – limited release of 32 total

FR 46.132.21

Siding: Faller’s “Corner Townhouse” item #282782 card-stock building is the backdrop in this post.

Factory Weathering: Marklin 82267 boxcar

Marklin’s factory weathering doesn’t get any better, and this example is another superb example. Featuring a post on one freight car is worth the effort, single cars can sometimes be overshadowed by the glaring goodness of fancy beautiful train sets and locos in the mini-club program, but individual cars add interest at sidings as they are essential to railroad operations.

Turn this car in the light and depth of detail reveals those qualities such as crisp timber construction, lettering and tiniest bolt heads.

Mated with the early Marklin logo this type GI high capacity boxcar with brakeman’s platform is Era III and weathered to perfection.

Note: The prototype of this Era III boxcar was perhaps loaded with diecast H0 locos and tin-plate rolling stock and other Marklin toys of the 1950’s.

Note: The un-weathered version of the GI boxcar with Era III Marklin lettering was featured as the 2009 Museum Wagen (Item #80020).

Siding: MBZ building kits such as the one featured in this post are available in the United States exclusively from Reynaulds.com. MBZ kits are a bit more primitive and tricky to assemble as compared with Archistories kits which are rigid precise constructions. A natural old weathered look is inescapably linked to MBZ, they are good kits to round out the architecture on a layout or diorama.


Marklin 81699 diesel train set with interesting load

Hardly enough sets seem to have made it to the United States, but for the lucky few the 81699 train set featuring a diesel locomotive and 2 freight cars with loads is another highly desirable version of the V100 locomotive.

Favored by its operators for good handling, visibility, and ease of maintenance, the V100’s side panels were completely removable allowing full access to the motor and components.

Marklin’s “Light Freight Train” 81699 Era III train set is packaged in a small carton with current graphics, it includes the locomotive with operating number V100 2112 and 2 type X 05 freight cars with Tempo Hanseat delivery truck loads. The vans feature metal construction and rubber tires that roll. Locomotive uses the traditional 5 pole motor with brushes, it features LED lighting that change over with direction of travel. Note: prototypical framework holds trucks in place.

A mighty fine design and production makes this and all the V100’s extremely good reliable runners with excellent pulling power. If you need to replace brushes the shell simply pulls off and snaps back in place.

Train can be seen traversing one of the 4 bridges at Hamburg’s Dammtor station released a few years ago as items numbers 89792 (station) + 89793 (arcades and bridges).

Siding: assembling Marklin’s Dammtor station 89792 is fun, it requires many hours to construct, but the completed project is a beautiful. Special note: Dammtor station kit has a 2 layer roof sheathing each piece is only glued to building edges one side at a time and allow to dry. Using glue between the sheets and above the trusses will lead to permanent rippling of the materials.

Engineering Perfection: Marklin E 18 in ‘Z’!

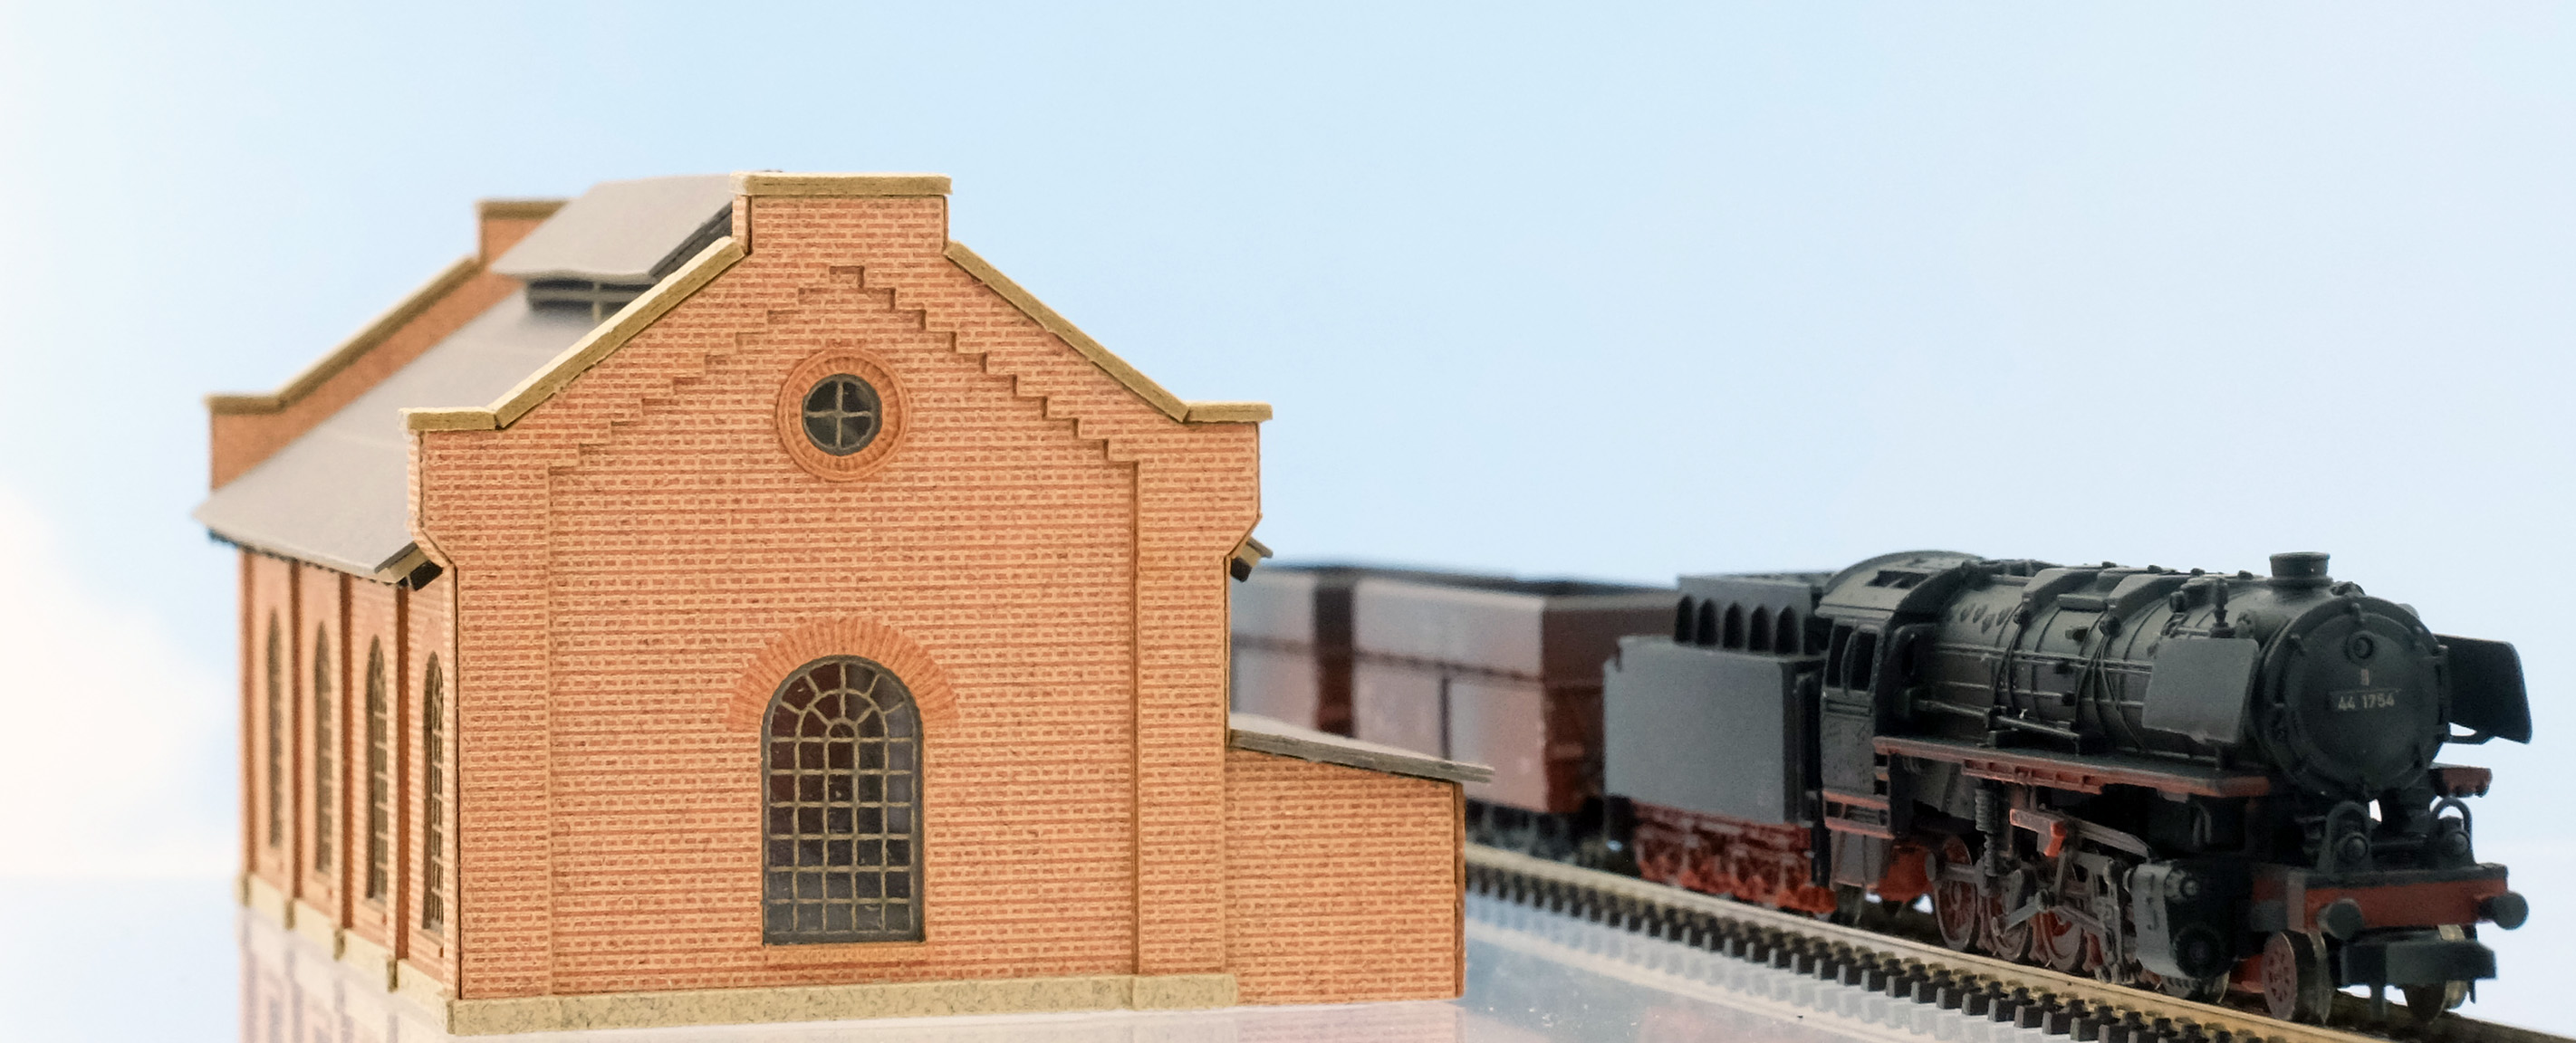
I recently purchased a rare variant of the E 18 electric locomotive in Z by Marklin, it arrived as a used working model, but with a fair amount of dirt and hairs strangling the axles. Cleaning it up included taking it apart and removing the dirt and grime under the hood, but it also included removing excess oil that even found its way under the circuit board. No HOS (hardened oil syndrome) to deal with, but over oiling has its issues including attracting dust and damaging the motor, in this case not much damage occurred to the locomotive.

This post is not so much inspired by the normal reporting of mini-club locomotive maintenance instead it is one that was inspired by the brilliant engineering and design of the E 18 for mini-club.

Marklin does not apply the same rules and principles when designing a mini-club loco: same motor and chassis different shell, no Marklin designs each locomotive class from the ground up thereby insuring the prototype is accurate in 1:220 scale and operates as flawlessly as we have all come to expect from mini-club operation!

Marklin 88082: rarest E 18 variant from 2004

The E 18 is an example of one such mini-club locomotive design that incorporates unique engineering and casting that is also meant to be taken apart and repaired when the need arises.

Taken apart this locomotive has a lot of parts that work flawlessly in the assembled locomotive including two gears that sit on posts within the frame and two large gears allowed to float on their axles.

above photo: right- small metal gear sits on post within frame as well as a second one not pictured, 2 additional gears one synthetic with two sets of gearing sit posts that are inserted through frame body

above photo: left- drive wheels that float on their axles pictured left are assembled in slots on the motor end of frame, two drive wheels right use thinner gears that are permanently fixed in the center of axles which are thicker than floating axles.

The design concept is simple: gather electricity from the wheels by way of a circuit board, the turning worm gear (transmission) on the motor engages with gearing that engages all the way down to the wheels thereby making all wheels drive wheels except for the pilot wheels.

Note: plastic mini-club loco shells are removed without damage with super thin synthetic guitar picks, do not use metal screwdrivers famously illustrated in the Marklin instruction manuals boxed with the locomotives.

With the shell off the cast wheel details are carefully pulled off, they are simply held onto the frame with posts!

Circuit board is not held under clips as with other locomotives, and one screw is all that is required to hold it in place.

The motor is screwed to the frame with 2 brackets each installed with two screws. Note: if you are at this point in restoration it is advisable to remove the motor and clean the frame under it. It is also a good idea to test the motor out of the frame, inspecting the brushes is also a good idea at this point.

After cleaning all the gears replace in the frame with the two gears on posts first followed by the large gears (2 gears that are designed to float on their axles are installed on the motor side of the frame, thickness of these axles also match the machining on the frame).

Note: use care to prevent bending of the copper leads on sides of frame.

Final steps: clipping on the wheel detail sections and then shell: Voila!!!!!

Variants of the German E 18 in mini-club:

Marklin class E 18 for DB (88080) Era III:

Marklin class 118 for DB (88081) Era IV:

Marklin class 1018 for OBB (88082) Era IV:

Marklin class E 18 42 for OBB (81441: trainset with coaches) Era III:

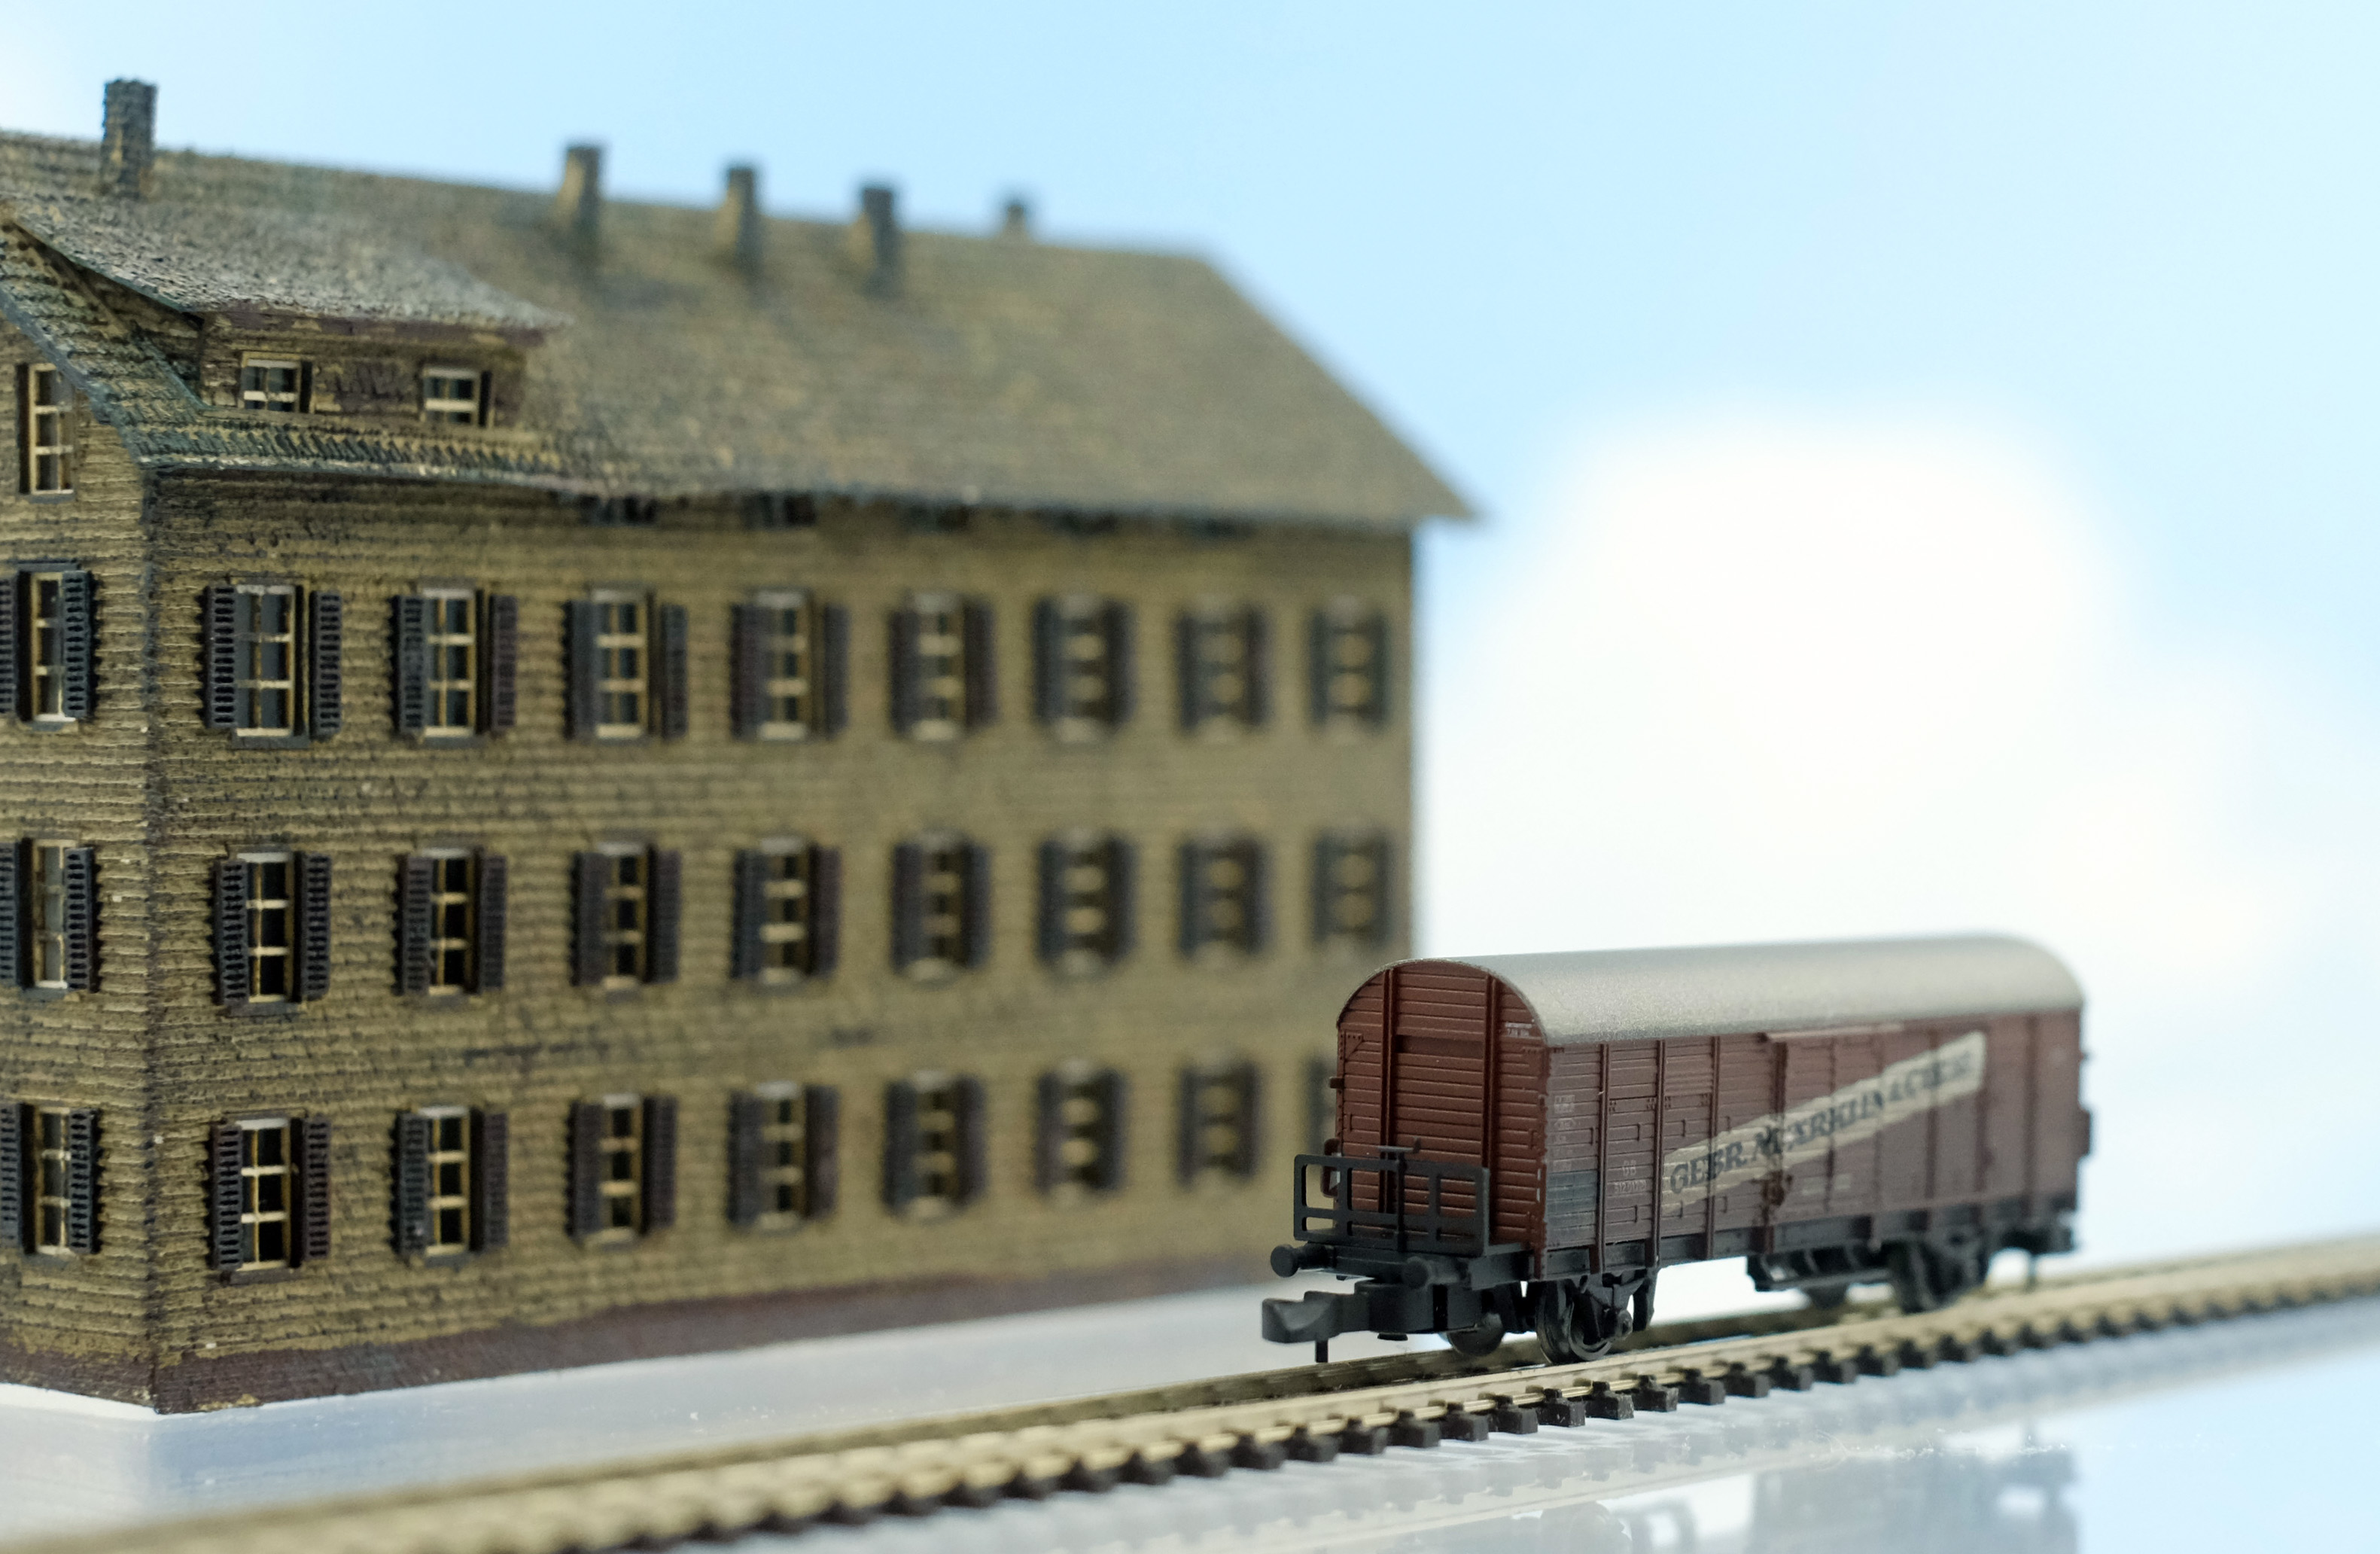
Siding: no other Z scale loco is designed to be taken fully apart and easily assembled as mini-club: diesel and electrics are easier than steam and non articulated are easier than articulated.

Siding: all class E 18’s are sold out at the factory, but Walthers still has the 81441 trainset available with beautiful green livery and 4 skirted coaches.


German Federal Railroad BR 38: Marklin 88998

Marklin’s 2013 announcement of the 88998 was the last in a long line of P8 locomotive versions this one being the Era III class 38 with tub style tender painted and lettered for the German Federal Railroad. With a 4-6-0 wheel arrangement and operating number 38 1910 this locomotive has smoke deflectors installed indicative of later Era P8’s.

But this release was more than another version featuring new lettering and paint scheme it also featured improved side rods thus including partial new tooling of a proven design. Further improvements include LED headlamps.

Coupled to the locomotive is a large high capacity tub style tender a feature of post-war locomotives in this class.

The 5 pole motor works perfectly to move this locomotive effortlessly down the tracks even at slow speeds, but it is perhaps the last version of this locomotive type that will feature a traditional brush motor as Marklin continues to incorporate the new technologies of brushless motors into the mini-club line-up!

Cranes Cranes Cranes! by Peter Behnke

Awhile back I featured a MOW vehicle for the SBB available as a printed shell through Shapeways, it is the design and handiwork of Peter Behnke who’s designs for numerous interesting Z are available at Shapeways.

Mr. Behnke prior to the printed Shapeway models produced small batches of nickel etched build kits for rail vehicles and industrial machines including cranes here we have four of those cranes:

1. 1944 KRUPP ARDELT Dier 1 

2. TAKRAF RDK 160

3. TAKRAF RDK 280

4. TAKRAF RDK 300

Finely detailed etched kits originally delivered without assembly instructions are now available with limited instructions from Scandinavian Shops or qualitytoytrains on Ebay. Numerous filigree parts and thin metal make for some challenges, but they get easier after the first one or two as does most things. Various levels of expertise will be on display for those who take on these kits including soldering and painting skills, but most importantly prepping and bending parts before assembly.

First: orientation to the parts sheet or as one person has said looking at a puzzle with no idea how it goes together

Second: separate parts from sheet and gently sand any rough edges

Third: gently fold parts following photo guides here or in the instruction sheet provided with current purchases through Scandinavian Shops *each kit will have unique challenges and instructions will become more of a distraction from common sense as anyone may attest that assembles these intricate and delicate kits

note: best tool for bending etched metal parts is “The Bug”, it is part of my essential Z toolbox:

The Bug is available at ZScaleMonster.com: http://www.zscalemonster.com/the_small_shop/

Fourth: soldering or super glue are the choices for assembling, I prefer solder because it is quick and gap filling

Fifth: a cleaning phase follows before painting, I use original Dawn liquid (blue) diluted in warm water and using a soft toothbrush gently go over all surfaces to clean off any debris or flux followed by thorough drying

Six: determine your paint color and either spray or brush water based paints, I do not recommend solvent based model paint for these kits, I have found it easier to apply layers of color with water based model paints and the flat surface appearance takes better to aging and weathering

Seventh: spray a diluted water based lacquer over the model to add durability to the painted surface followed by rigging the lines from hook to winding drum

Note: the kits do not provide some required parts including pulley wheels so some extra effort is required to fashion the essential parts for securing rig lines

Note: weighting the cabin is required for some cranes, test before securing cabin to deck, if it topples over maybe cement a small hex nut inside

Note: cranes can be assembled to allow the cabin to rotate on the deck of the crane, pre-drilled holes are provided, but tiny machine screws are not, I determined the placement of the cabin and soldered in place, I also soldered in place the boom which can also be assembled to move, but I do not recommend it: parts are to flimsy for continuous movement at the joint where the two meet

Note: the crane boom in all the kits is one piece featuring bending seams, I soldered all seams to ensure a solid construction, due to the nature of the parts SuperGlue will not work for this step as a gap filling material is required.

Note: soldering is easy with flux, I use water based flux applied to the area I want to solder with a toothpick, heating the material with a soldering iron makes the solder flow toward the heat and to the area to be joined *solder is not applied directly to soldering iron tip unless the area to be joined is too space restrictive *solder with a flux core is recommended with additional flux applied to the area to be soldered

Siding: the right tools make all the difference as with soldering the very best tool I have found is the Hako FX-951 soldering station, it features interchangeable tips, solder resistant pad, sleep mode with iron craddle, and multi function control box *best tool I bought in 2017!!!


Marklin 88893: BR 10 with experimental paint scheme

The rarest of the BR 10’s in ‘Z’ is the 88893, it was only available from the mini-club Center upon release. This One Time Series from 2004 features the experimental paint scheme proposed by Krauss-Maffei, they also proposed a unique angled smoke deflector with large proportions. This was another paint scheme that was not adapted for the new DB BR 10 instead black was the chosen color. The 88893 was released in an attractive wood box, it features a 5 pole motor.

Siding: one of Marklin’s Era III DB coach sets will complement this loco and look great to boot!

Marklin 88892: BR 10 Experimental Paint Scheme

A special cast gold BR 10 was released as the 3rd of this loco class in 1997 as item number 88891, in 3 years the 4th BR 10 would be released as 88892. The Era III 88892 was a One Time Series for the MHI Program in an experimental paint scheme, various designs were floated before indecision landed on the black paint scheme represented as 8889. The attractive blue with white pinstripe would have been a stunner in the late 1950’s representing a new loco with “forward progress” suggested by the innovative design, but this and other paint schemes were shelved when a consensus of opinion could not be reached. Model originally delivered in an attractive wood box.

Siding: all BR 10’s are Era III, it was a short lived locomotive type with just two prototypes, Marklin released 5 models of this loco but only one was based on the prototype, the others included a special Marklin cast gold model and 3 experimental paint schemes that were proposals only.

Marklin 8889: BR 10 Steam Locomotive

Following the release of the 8888 for the MHI program a second BR 10 (8889) with the same operating number was delivered in the same year: 1994. But unlike the one time release of the 8888 the 8889 would remain in production for 14 years ending its run in 2008. During the long tenure of the 8889 in the mini-club line-up a significant upgrade occurred with all Z locos, in 1999 the 5 pole motor was introduced which has since become standard equipment in all ‘Z’ locos. For collectors of Z here is an example with two variations: one with original 3 pole motor and another with 5 pole motor. Color scheme for 8889 is black with white pinstripe lettered for DB with operating number 10 001.

Siding: for collectors buying BR 10’s today it will be rare to find one directly from a Marklin dealer in new condition, the secondary market is the more viable place to find these locos. Buying tip: be sure the loco includes cap that hides screw on top of shell, this is a very hard part to replace and downgrades the value and appearance.

Marklin 8888: BR 10 Steam Locomotive

The first BR 10 loco was released in 1994 as a One Time Series for the MHI Program: product number 8888. Sporting a very attractive paint scheme the 8888 was delivered in blue and gray with bright red wheel spokes and matching tender trucks. A heavy cast metal shell with operating number 10 001 for the DB. Design and styling seems to scream Era III in the age of streamlining as a emblem of progress and modern aesthetics. The model produced by Marklin is a very good runner with plenty of weight to maximize the pulling potential of 4-5 coaches easily.

photos: 8888